
Last updated November 16, 2026
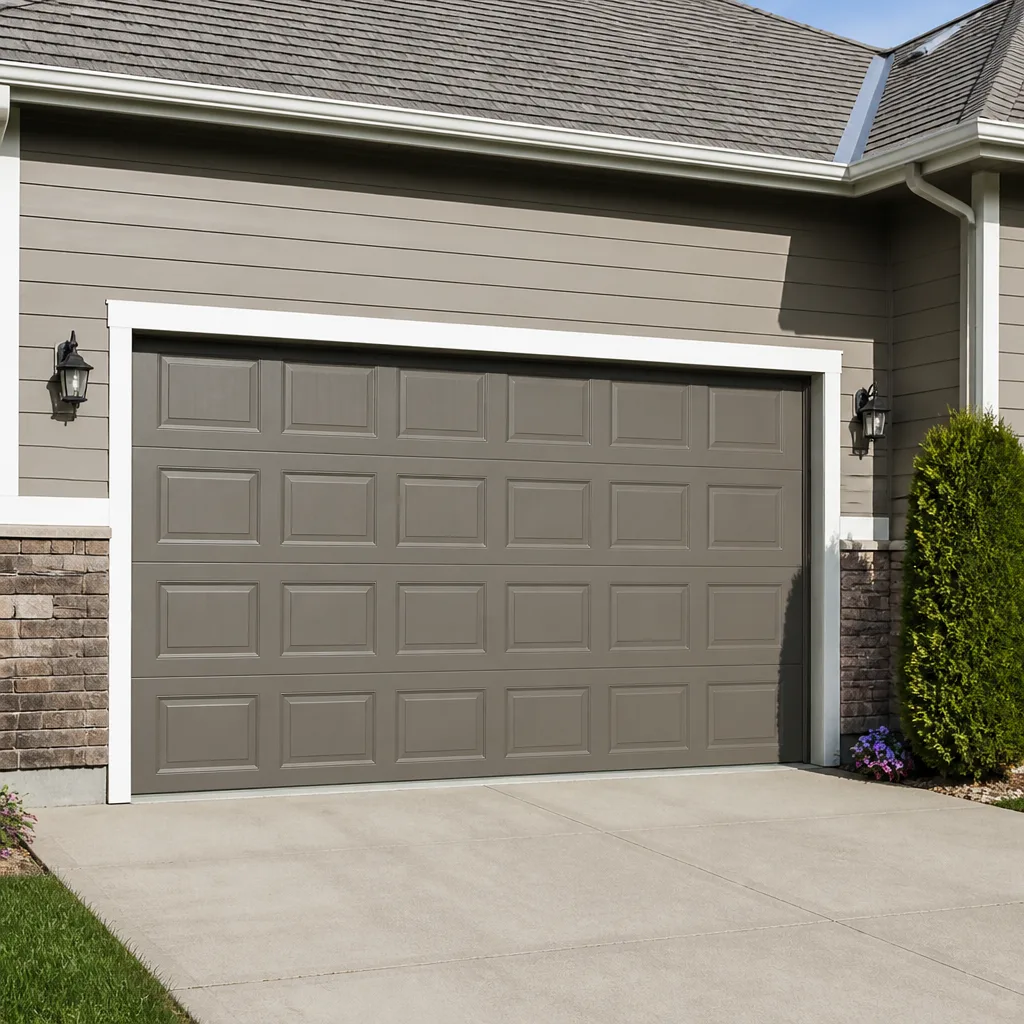 Raised-panel steel
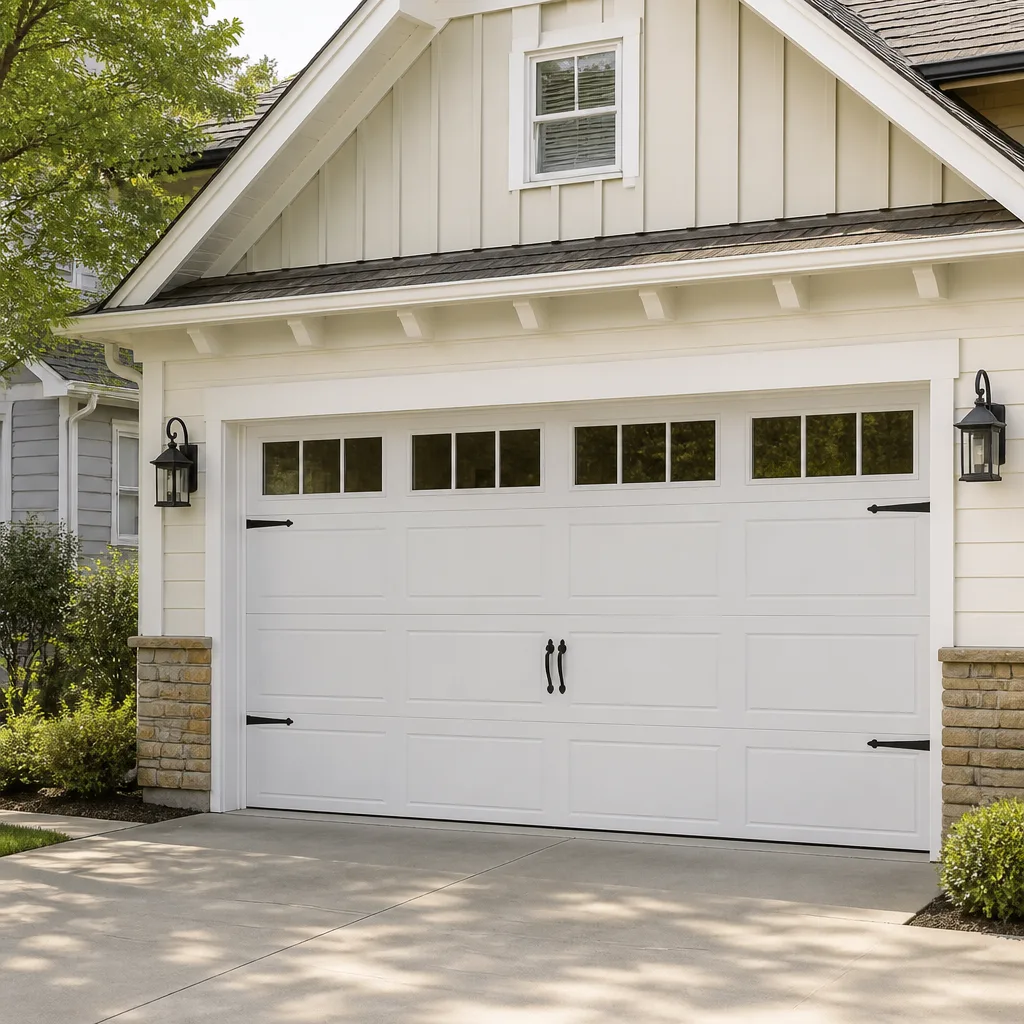
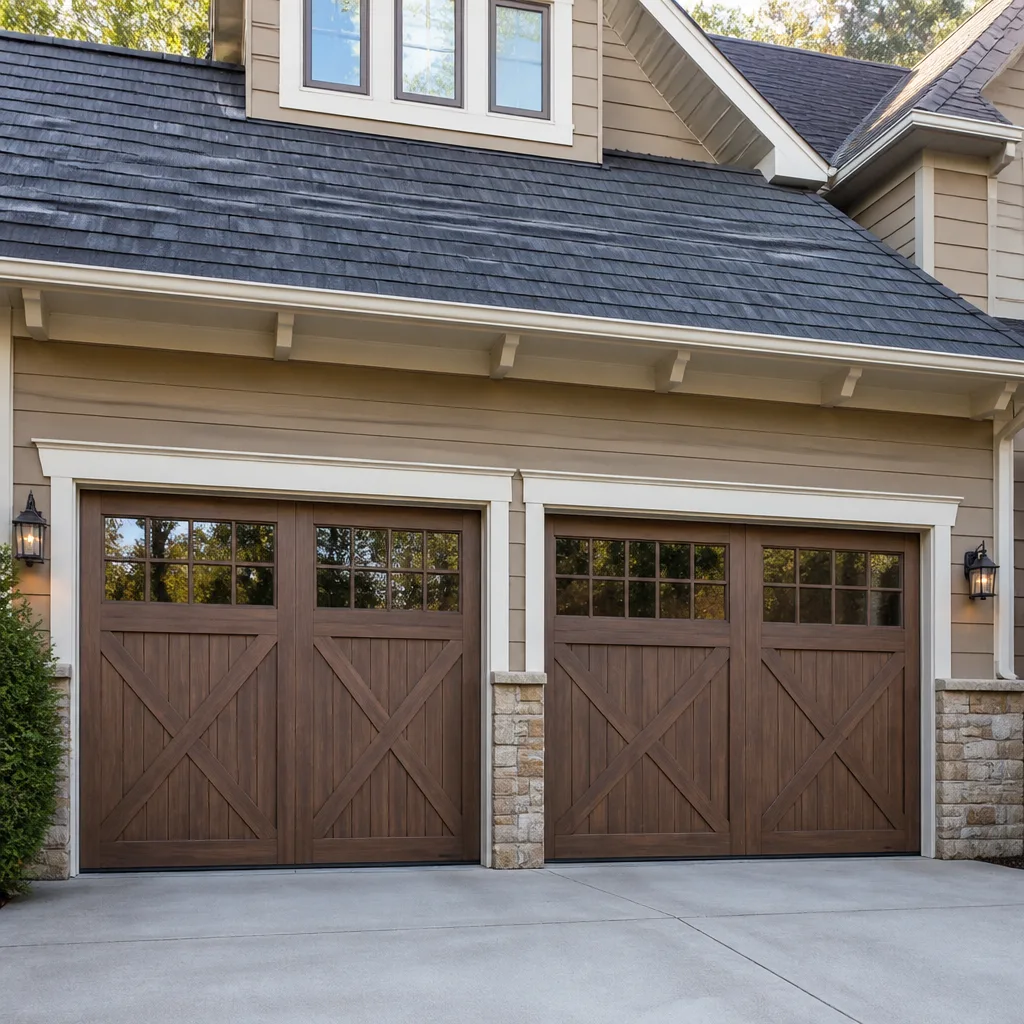 Carriage house
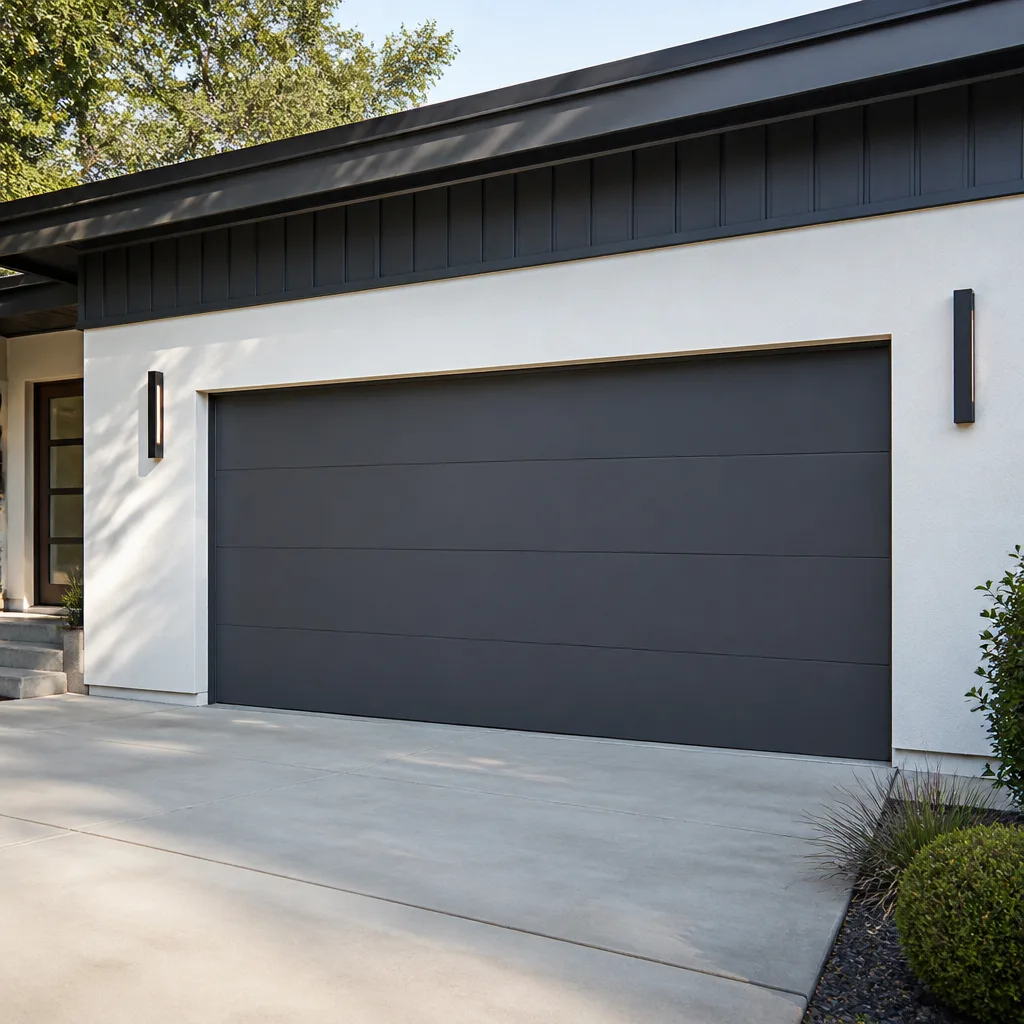 Modern flush
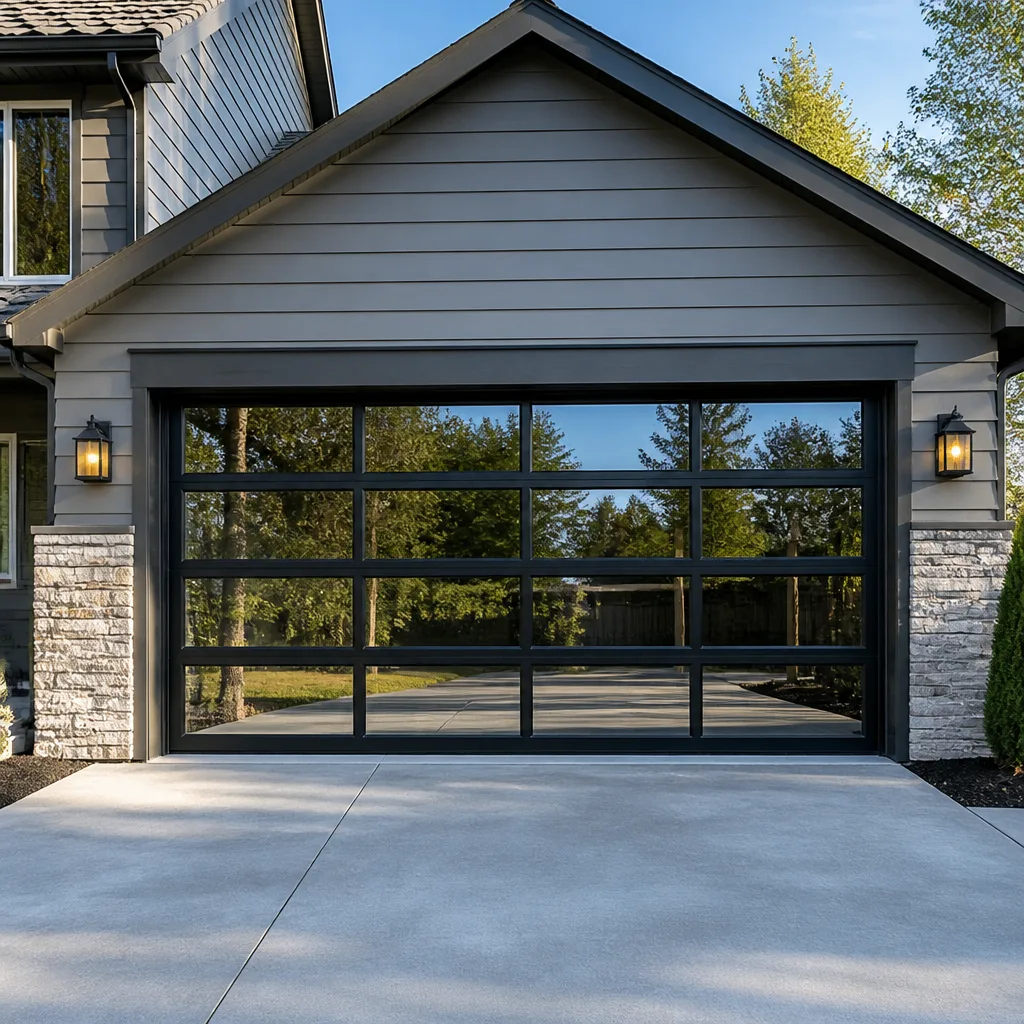 Full-view glass
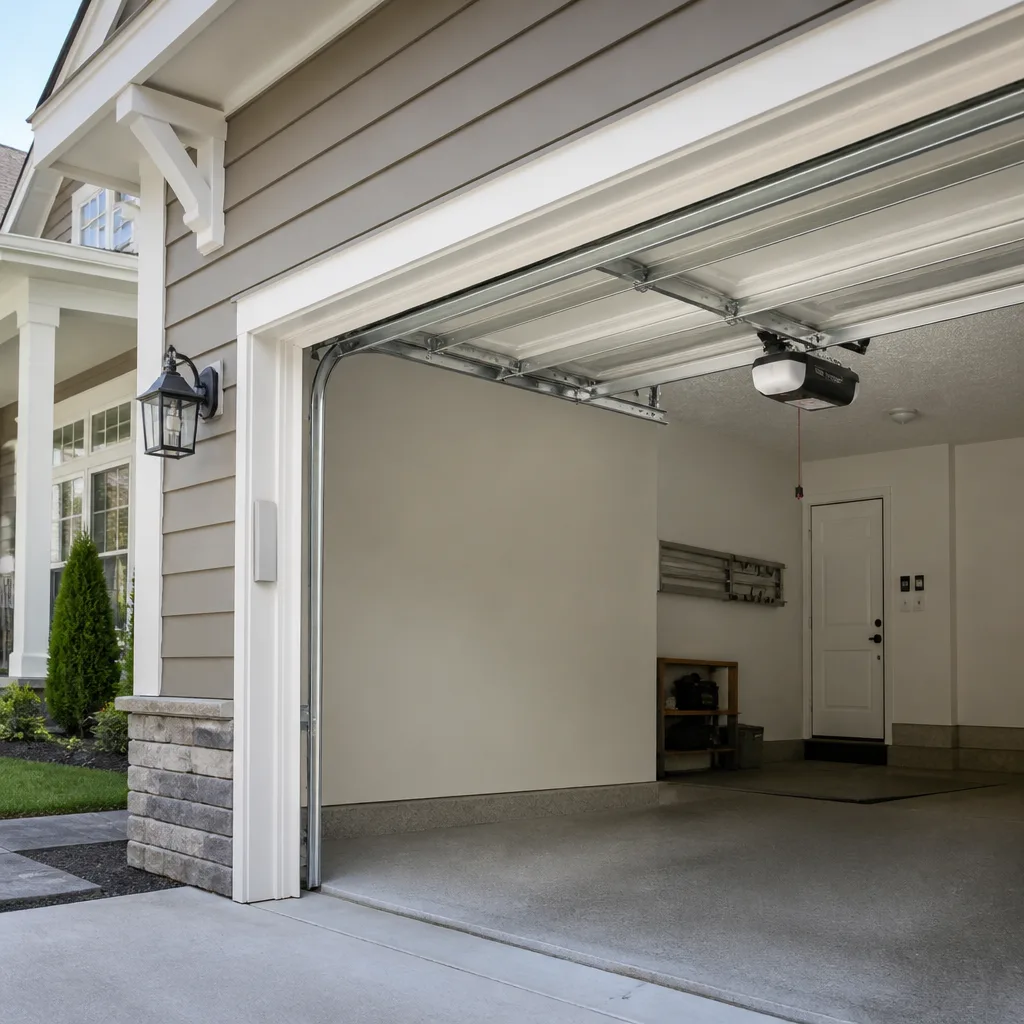 LiftMaster openers
 Chamberlain openers
Full 25-point door and opener safety check with every visit - springs, cables, rollers, tracks, and your LiftMaster or Chamberlain opener included
You get a price before we start. It does not change when the pro arrives.
Get your free estimateDIY vs Professional Garage Door: The Santa Rosa Homeowner’s Decision Guide
Most homeowners frame the DIY question as a matter of confidence. If you’re handy, you fix it. If you’re not, you call someone. That framing is wrong, and it’s the reason so many Santa Rosa garages end up worse off after a weekend project than before it started. The real dividing line isn’t skill level. It’s physics. A torsion spring on a standard two-car garage door stores enough energy to cause serious injury the moment it releases, and the failure happens faster than human reaction time allows. No amount of carefulness changes that. This guide sorts garage door tasks into what you can safely handle, what’s borderline, and what belongs to a trained technician no matter how capable you are.
Quick Answer
Lubrication, photo-eye alignment, remote reprogramming, and visual inspections are safe for most Santa Rosa homeowners to do themselves. Spring, cable, and panel replacement are professional-only work because the stored energy and tension involved can injure you in a fraction of a second, regardless of your skill. Everything in between, like opener logic board issues and track realignment, is worth a call because a wrong guess usually costs more than the original repair.
Styles & brands we work with
- Raised-panel steel
- Carriage house
- Modern flush
- Full-view glass
- LiftMaster openers
- Chamberlain openers
Table of Contents
- The Task Taxonomy: What’s Actually Safe to DIY
- Why Some Garage Door Tasks Are Professional-Only
- The Tools That Tell You to Stop
- DIY vs Professional Cost, Compared Honestly
- Brand-Specific DIY Traps: LiftMaster, Craftsman, and Wayne Dalton
- How to Work With a Technician Productively
- What’s Different About Garage Doors in Santa Rosa
- Common Mistakes to Avoid
The Task Taxonomy: What’s Actually Safe to DIY
The DIY question gets easier once you stop thinking in terms of “repair” and start thinking in terms of specific tasks. Garage door systems have a handful of subsystems, and each one carries a different risk profile. If you can map your problem to the right bucket, you’ll know immediately whether to grab a screwdriver or a phone.
Safe for most homeowners
- Lubrication. A few drops of garage door lubricant on the hinges, rollers, and bearing plates a couple of times a year keeps a door quieter and reduces wear. Use a purpose-made product, not WD-40, which attracts dust.
- Photo-eye alignment. The two small sensors near the floor on either side of the door need to see each other. If the door reverses immediately after closing, wipe the lenses and nudge them back into line.
- Remote and keypad reprogramming. Pairing a new remote is a menu task on most modern openers. Your manual covers it, and it takes about two minutes.
- Visual inspection. Look at the springs for gaps or stretching, check that the door hangs level, and listen for new noises. Catching a problem early is the cheapest form of repair there is.
- Track wiping. A dry cloth along the inside of the track removes grit. Don’t lubricate the tracks themselves; that collects debris.
Borderline: attempt with real caution
Track adjustment and roller replacement sit in a gray zone. Neither involves stored spring energy, so a careful homeowner can often manage them. But a door that’s been running on bent tracks for a while may have stressed the panels, and a panel that’s out of alignment can bind under the opener’s force. If you adjust a track and the door still doesn’t run smoothly, stop and have it looked at in Santa Rosa before the opener motor starts absorbing the strain.
Professional-only, full stop
Torsion springs, extension springs, lift cables, bottom brackets, and cable drums. These parts hold the door’s entire weight in tension, and every one of them can release that energy violently. There’s no homeowner version of this work. There’s only the version where a trained technician with the right tools does it, and the version where something goes wrong.
Why Some Garage Door Tasks Are Professional-Only
A torsion spring on a two-car door holds hundreds of pounds of force when the door is closed. The door you lift with one hand at the bottom is being counterbalanced by that spring, which means the spring is doing most of the work. When it breaks, that stored energy has to go somewhere. It doesn’t wait for you to step back.
This is why the injury pattern with garage door springs isn’t “careless homeowner.” It’s “careful homeowner who underestimated the release.” The failure is instantaneous, and the equipment involved, including the winding bars and the spring itself, becomes a projectile. There is no gradual warning to react to.
The same logic applies to lift cables. They run under tension from the bottom bracket to the drum, and if one lets go while you’re near it, the bracket end swings. Bottom brackets are under load too, and they’re often the part a homeowner reaches for first when a cable looks slack.
What a trained technician brings to the same job
Two things matter: tools and sequence. The tools are specific. Winding bars are the obvious one, but a technician also uses proper locking pliers to secure the torsion tube, correct-rated cables, and a drum-winding technique that keeps the assembly under control throughout. The sequence matters just as much. Springs are unwound before anything else is touched, and the door is locked in the down position so it can’t rise unexpectedly. If you don’t know the sequence, you don’t know the job.
Our technicians have up to 15 years of experience working on these systems, and the reason that experience counts isn’t speed. It’s that they’ve seen what happens when the sequence is skipped. When we handle garage door repair in Santa Rosa, the first thing on the job is making the door safe, before any part comes off.
The Tools That Tell You to Stop
Here’s a useful shortcut for the DIY decision. If the task requires a tool you don’t own and can’t borrow from a neighbor, that’s not a gap in your toolkit. It’s the universe telling you the job belongs to someone else.
The winding bar is the clearest example. You can’t buy one at a hardware store in the aisle with the screwdrivers. It’s a trade tool, sized to the spring’s winding cone, and it exists because the spring has to be released in controlled increments. Improvised substitutes, like screwdrivers or punch pins, are how people get hurt. A screwdriver can slip out of the cone under load.
Beyond the winding bar, the professional tool list for spring and cable work includes:
- Two winding bars, not one. The second bar holds position while you reposition the first.
- Locking pliers sized to the torsion tube, used to prevent the shaft from rotating while a spring is being set.
- A proper cable puller or come-along for cable replacement.
- A door lock or clamp to hold the door down while work is done above it.
- Correct-rated replacement parts. Springs are rated by cycle life and door weight. A mismatched spring is a return visit waiting to happen.
If you find yourself looking at a YouTube video and thinking “I could probably make that work with a pair of vise grips,” that’s the moment to close the laptop. For anything at the spring, cable, or bracket level, call a specialist. Our team works across the major brands, including LiftMaster, Wayne Dalton, and Raynor, and the parts are matched to the door rather than guessed at.
DIY vs Professional Cost, Compared Honestly
DIY saves real money on the small stuff and costs real money on the wrong stuff. That’s the honest version. Here’s what that looks like in practice, without pretending a homeowner can beat a specialist on a spring job or that a specialist is worth calling for a sensor that got bumped by a broom.
Where DIY genuinely saves
- Lubrication. A can of garage door lubricant costs less than any service call. Doing it twice a year is the single best thing you can do for door longevity.
- Photo-eye cleaning and alignment. A minute with a cloth and a nudge.
- Remote and keypad reprogramming. Free with the manual.
- Basic visual inspection. Free, and it’s how you catch a worn roller before it fails.
Where DIY creates new costs
A botched track adjustment can bend a panel. A bent panel means a panel replacement. A misdiagnosed opener problem, where a homeowner replaces a remote or a battery when the real issue is the logic board or a stripped drive gear, can run through a few wrong parts before the actual fix. A spring job attempted without the right tools is the worst case: the potential for injury plus a repair that now has to be done by a professional anyway.
Here’s the pattern we see most often in Santa Rosa. A homeowner spends an afternoon and some money chasing an opener symptom with a parts-cannon approach. The actual problem is a worn drive gear or a failing capacitor on a specific brand of opener, which a technician diagnoses in fifteen minutes because the failure pattern is familiar. The DIY attempt didn’t save money. It added a couple of wrong-part purchases on top of the real repair.
Estimates are free, and the price is quoted and agreed before any work begins. That alone makes the call cheaper than the guesswork for anything beyond the safe list.
Brand-Specific DIY Traps: LiftMaster, Craftsman, and Wayne Dalton
Opener brands aren’t interchangeable, and that matters for DIY because the manufacturer’s setup and calibration sequences are part of the design. Some of what looks like a repair problem is really a calibration issue, and some of what looks like a calibration issue is a locked-out system that needs the right sequence to reset.
LiftMaster and Chamberlain openers share a lot of internal architecture. Their travel limits and force settings are set through a specific button sequence, and getting it wrong doesn’t damage anything but does leave the door behaving oddly. Craftsman openers, particularly older models, have their own remote-programming and limit-setting steps that differ from the newer systems. Wayne Dalton doors and their associated operators have their own hardware conventions, and a part that fits a generic door often won’t fit a Wayne Dalton without an adapter.
The trap is assuming that a symptom on one brand means the same repair on another. It doesn’t. Our team services eight of the most common residential brands, and the reason we call out brand-matched diagnostics is that the failure patterns differ by manufacturer. A technician who works on your brand regularly recognizes the symptom. A homeowner working from a generic video is guessing.
If the opener is the problem, this is the one area where a call tends to pay for itself quickly. You can read more about garage door opener repair and what a proper diagnostic looks like.
How to Work With a Technician Productively
A garage door appointment runs smoother, and usually costs less in labor time, when the homeowner has done a little prep. None of this is heavy lifting. It’s the stuff that lets a technician start the actual diagnosis immediately instead of spending twenty minutes clearing a path.
- Clear the garage floor under the door. Bikes, boxes, and stored items under the door get moved before anyone can work on the tracks or the springs.
- Clear a path from the entry to the door. A technician carrying tools and parts doesn’t need to navigate around a stack of bins.
- Note what the door is doing. Write down the symptom. Does it reverse immediately? Stop halfway? Reverse only when it’s cold? The pattern is a diagnostic clue, and a homeowner who can describe it precisely saves time.
- Gather the remotes and the keypad code. If the opener is involved, the technician will want to test the remotes and the wall control. Have them handy.
- Have the opener model number available. It’s on a label on the back or underside of the motor housing. That number lets the technician know what they’re walking into before the appointment starts.
- Mention any recent changes. A new remote, a power outage, a recent storm, a door that got bumped. Small context compresses the diagnostic.
What you should not do is attempt a partial repair first. A door that’s been partially disassembled is harder to diagnose than one that’s simply broken. Leave it in the state it failed in and describe what happened.
What’s Different About Garage Doors in Santa Rosa
Santa Rosa’s climate is gentle, which sounds like good news for a garage door and mostly is. Mild winters mean the door isn’t fighting the freeze-and-thaw stress that wears down doors in colder parts of the country. But there’s a Santa Rosa-specific wear pattern that’s worth knowing: dust and pollen.
Our summers are dry, and the pollen load in spring is substantial. Those two things combine on the moving parts of a garage door, and they combine on a door that’s opened and closed a couple of times a day, which is most of them. The rollers pick up grit. The hinges collect pollen, and that becomes a sticky paste. The tracks fill with fine dust that the rollers grind against. The result is a door that starts to sound rough long before any part has failed.
The other Santa Rosa factor is the housing mix. A lot of homes here have attached garages that serve as the primary entry, and some have detached garages that get less attention. A detached garage in Santa Rosa may see the door cycle once a day and still have springs that were installed decades ago. Springs are rated by cycle count, but they also age. A door that’s been quiet for a long time can produce a sudden failure, and the age of the spring is something worth checking during a routine inspection.
Our team works throughout Santa Rosa and the surrounding area, and the mix of older doors and newer installations means the diagnostic range is wide. Newer LiftMaster and Chamberlain systems with smart-drive openers behave very differently from the older belt-drive units still running in parts of town. Knowing which era of equipment you’re looking at changes the diagnosis.
Common Mistakes to Avoid
- Using WD-40 on the tracks. The tracks should be dry. Lubricant attracts dust, and dust becomes a grinding paste. Use a proper garage door lubricant on the moving parts, not the tracks.
- Adjusting the photo-eyes without checking the wiring. If realigning the sensors doesn’t fix the reversing door, the problem may be a loose wire at the terminal or a failing sensor, not the alignment. Repeated fiddling can break the mounting bracket.
- Replacing a remote when the wall control also fails. If both the remote and the wall button don’t work, the issue is the opener or the power, not the remote. Buying a new remote is a wrong-part purchase.
- Forcing a door that’s stuck. A door that won’t move may have a broken spring, and forcing it up or down puts full door weight on the opener and the cables. That’s how a repair becomes a replacement.
- Adjusting travel limits without noting the original settings. If the door reverses in the middle of travel, moving the limits without understanding why can leave the door unable to close fully. Note the current settings before touching anything.
- Skipping the visual inspection after a storm. A panel that took a hit may have a hairline crack. Catching it early keeps it a panel fix. Waiting means the crack spreads and the panel needs full replacement.
- Assuming a new opener will fix an old door. A heavy or misaligned door will wear out a new opener faster than the old one. Fix the door first, then consider the opener.
See the difference
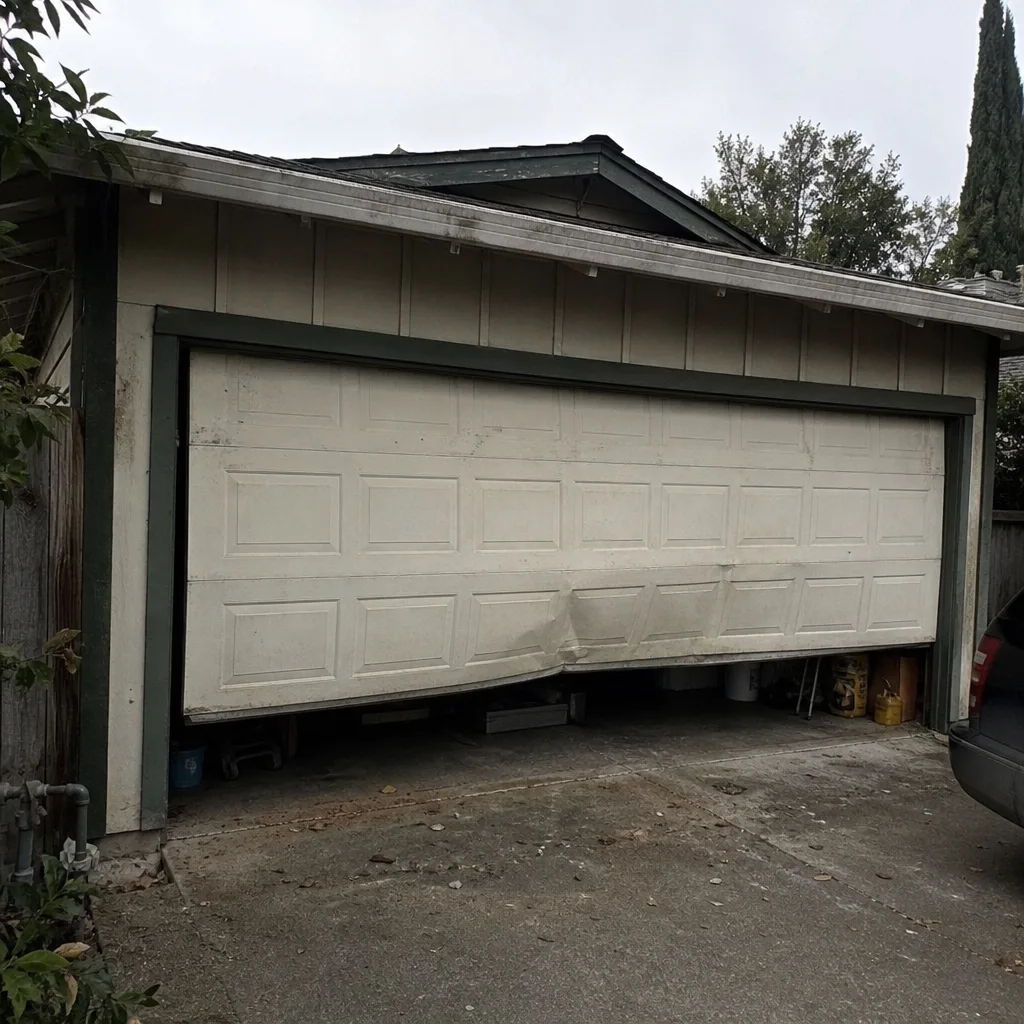 Before
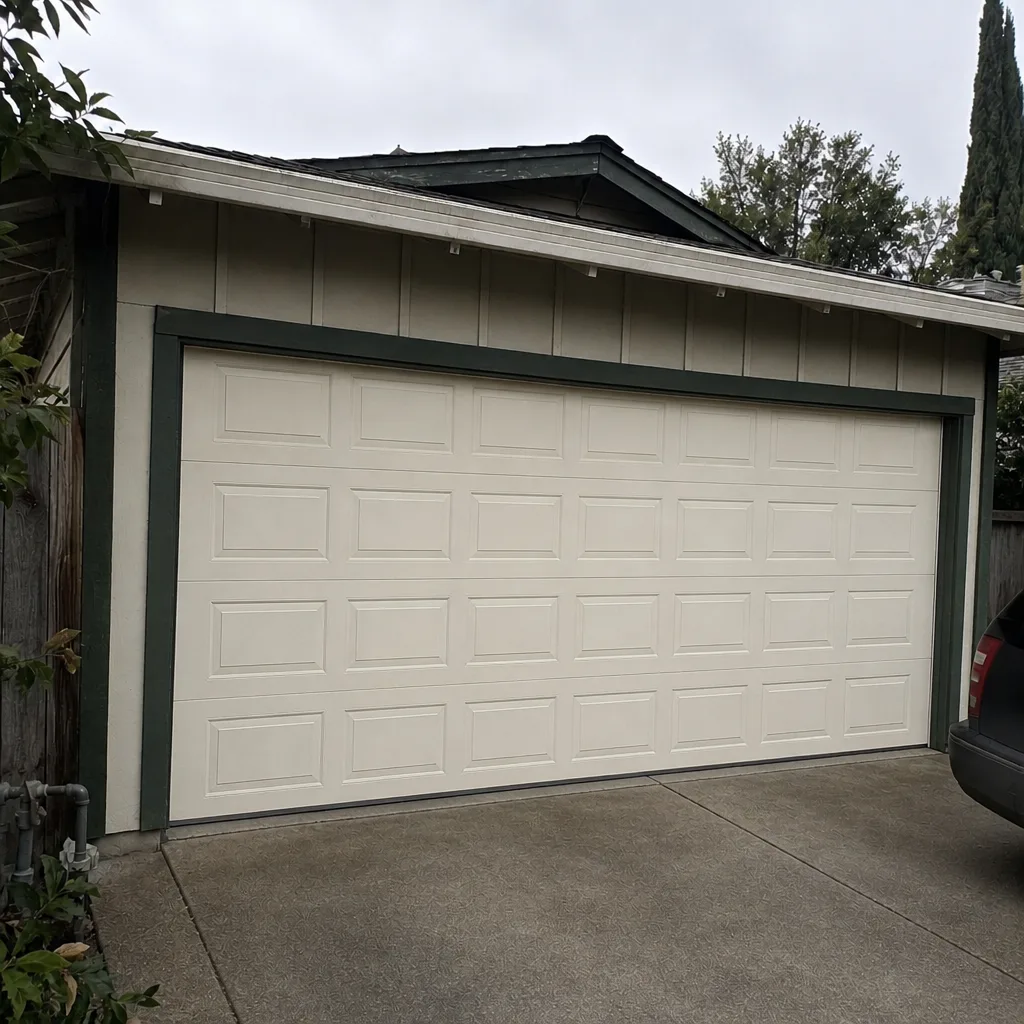 After
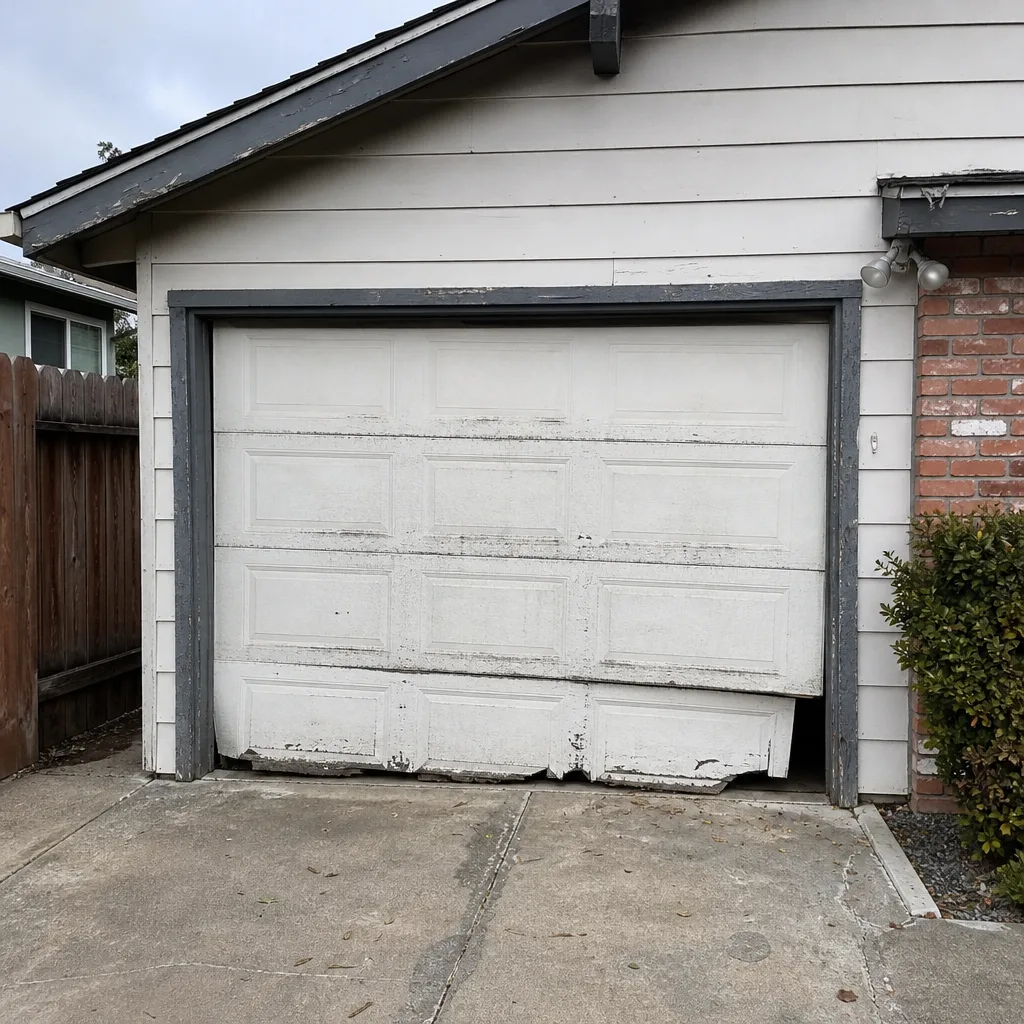 Before
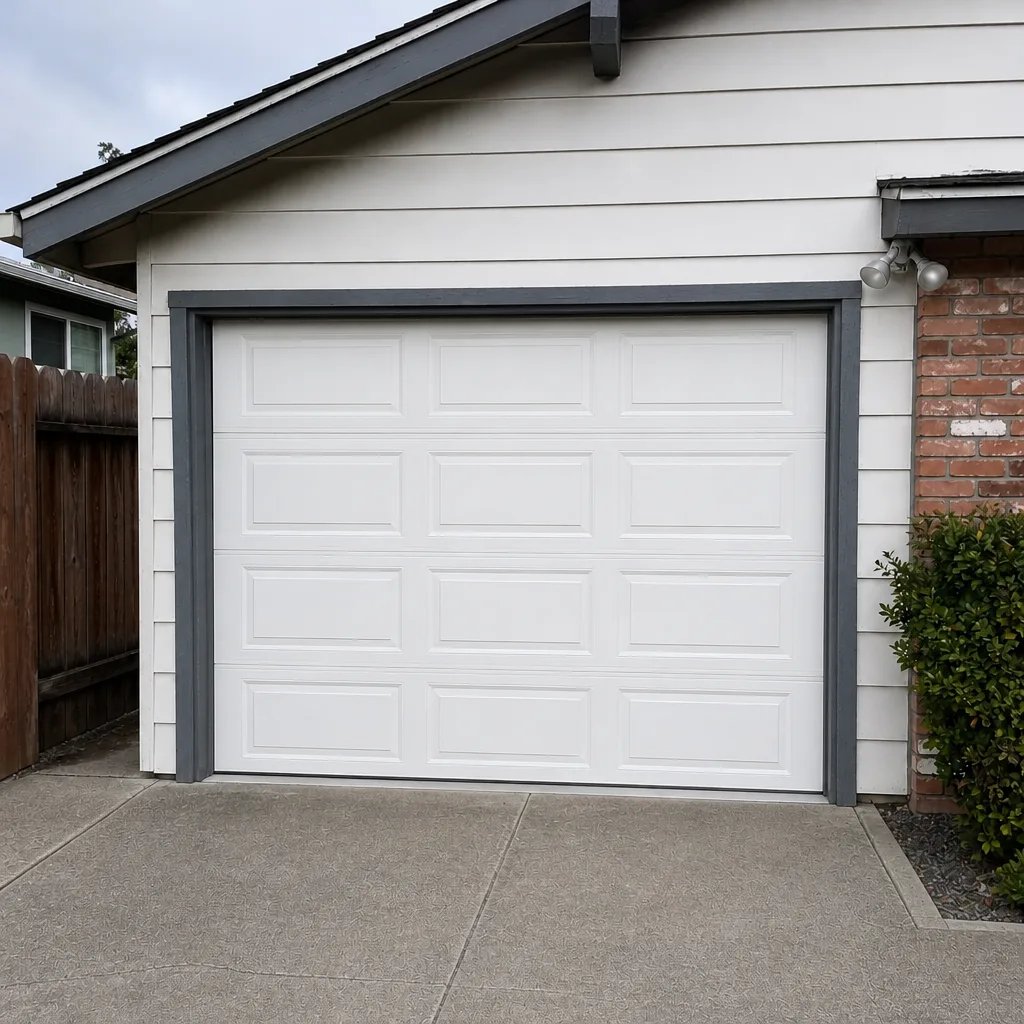 After
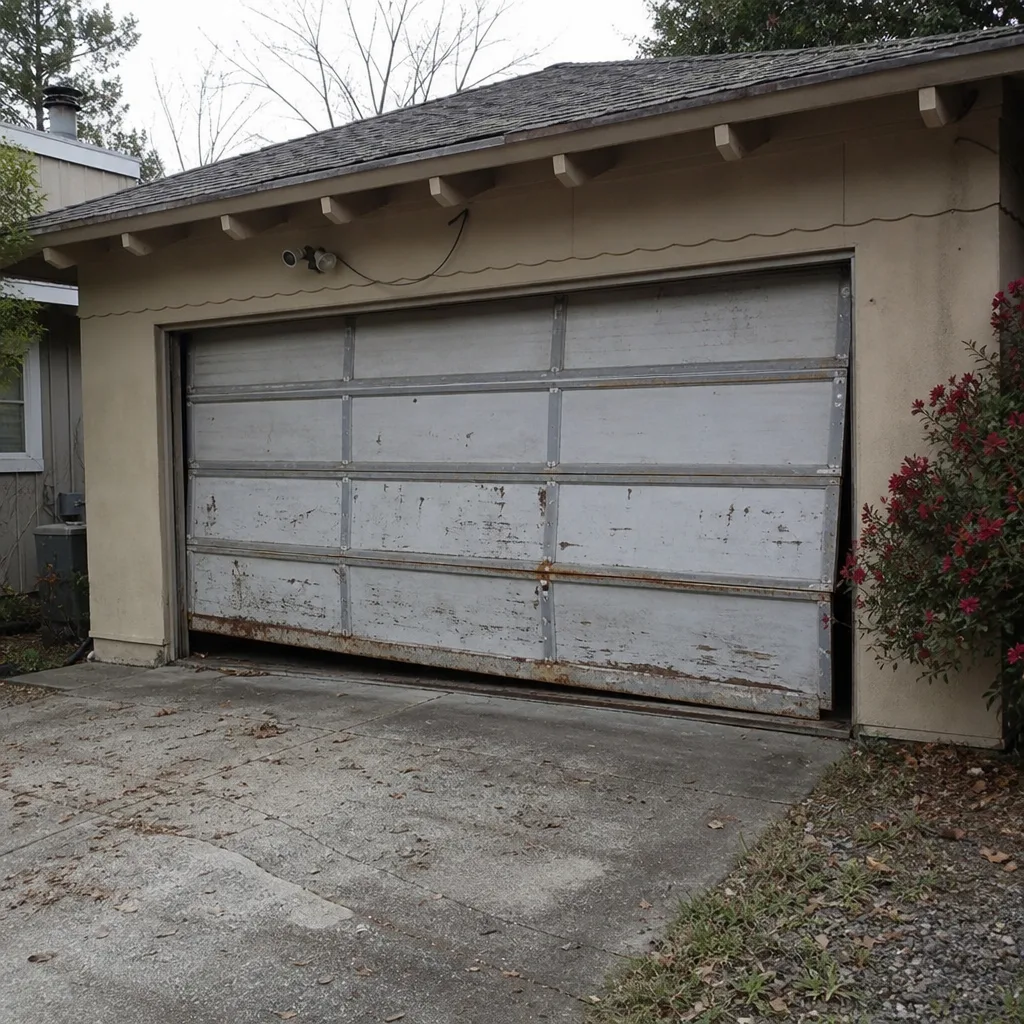 Before
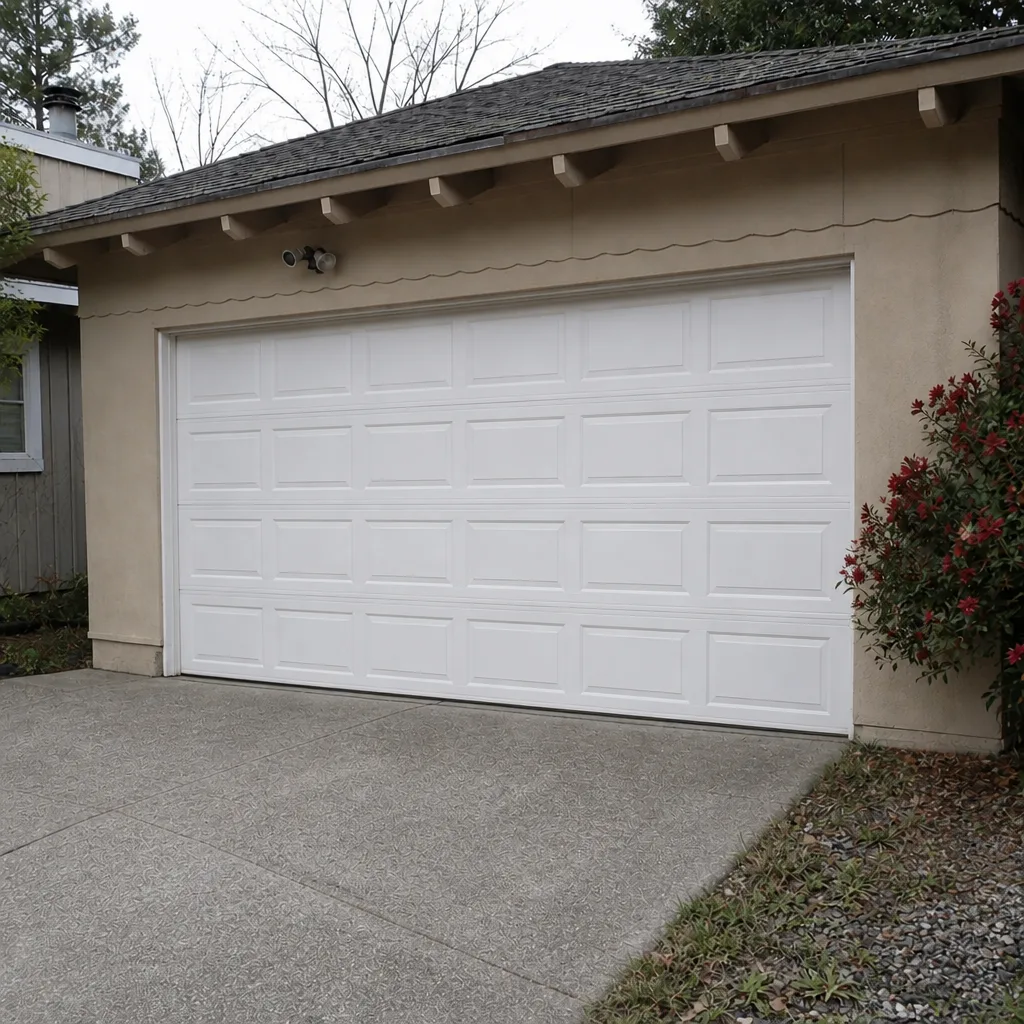 After
When to Call a Professional
Call a specialist if any of the following is true. A spring has visibly broken or the door won’t lift. A cable is slack, frayed, or off the drum. The door hangs crooked. The door reverses for no clear reason and sensor alignment doesn’t fix it. The opener runs but the door doesn’t move, or the door moves but the opener doesn’t. Any of those is a same-day call in Santa Rosa, and a same-day repair is usually possible for emergency issues.
If you’re not sure whether your situation is on the safe list or the professional-only list, the safest path is a free estimate. You’ll get a clear diagnosis, a written price before any work starts, and no guessing about the parts. Signal Garage Door Repair offers free estimates in Santa Rosa, and you can reach us at (844) 834-1851. Our technicians have up to 15 years of experience, and the estimate is free whether or not you hire us.
Frequently Asked Questions
Yes, for the right tasks. Lubrication, photo-eye alignment, remote reprogramming, and visual inspection are all safe for a homeowner to handle. Anything involving springs, cables, bottom brackets, or drums is not safe to DIY regardless of skill level, because the stored energy releases too fast for human reaction time. If you’re unsure which category your problem falls into, call (844) 834-1851 and describe the symptom. We’ll tell you honestly whether it’s a DIY job.
A torsion spring replacement in Santa Rosa typically runs $180 to $340 for one spring, and a matched pair is usually replaced together, so a pair costs roughly twice that. Lift cables, drums, and brackets are quoted separately. The written estimate sets the final price, and we quote it before any work begins. Call (844) 834-1851 for an exact quote; estimates are free.
No. The video doesn’t show the part that matters, which is the release. A torsion spring under load can fail without warning, and the tools involved become projectiles. This is one of the few tasks where the risk isn’t proportional to how careful you are; it’s a property of the physics. Our technicians use rated winding bars, proper locking tools, and the correct sequence. That’s not overkill. That’s the minimum for doing the job without injury.
It reverses because the photo-eye sensors or the opener’s force setting is telling it to. The most common cause is a misaligned or dusty sensor, which is a safe DIY fix: wipe the lenses and nudge them back into line. If that doesn’t solve it, the sensor or the opener’s logic board may be the issue, and that’s worth a diagnostic. We answer 24/7, and fast dispatch runs from 7am to 7pm, Sunday through Friday.
No. The price you agree to on the written estimate is the price you pay. If our diagnosis reveals something the estimate didn’t cover, we tell you before any additional work starts. There’s no outcome where you get an invoice larger than the quote without agreeing to it first. Call (844) 834-1851 to schedule a free estimate.
Yes. Our technicians are licensed and insured, and we work on eight of the most common residential garage door and opener brands: LiftMaster, Chamberlain, Genie, Clopay, Amarr, Wayne Dalton, Craftsman, and Raynor. Brand-specific knowledge matters because failure patterns differ by manufacturer. Our technicians have up to 15 years of experience, and we diagnose by system knowledge rather than trial and error. Call (844) 834-1851 for a free estimate.
The Bottom Line
The DIY vs professional question isn’t about how handy you are. It’s about which tasks have a risk profile a homeowner can safely accept. Lubrication, sensor alignment, remote programming, and visual inspection are safe, and doing them regularly is the best way to extend the life of a Santa Rosa garage door. Spring, cable, bracket, and drum work is professional-only, because the stored energy involved doesn’t leave time to react. Everything in between, especially opener diagnostics, is usually worth a call because the wrong guess costs more than the diagnosis. If you’re not sure which bucket your problem belongs in, call a specialist. Get the diagnosis, get the written price, and decide from there.
Signal Garage Door Repair works on your brand, from opener to panel, across the full service arc: repair, opener repair, and installation. We answer 24/7, and fast dispatch runs from 7am to 7pm, Sunday through Friday. Closed Saturday. Call (844) 834-1851 for a free estimate in Santa Rosa.
Written by the team at Signal Garage Door Repair.