
Last updated November 16, 2026
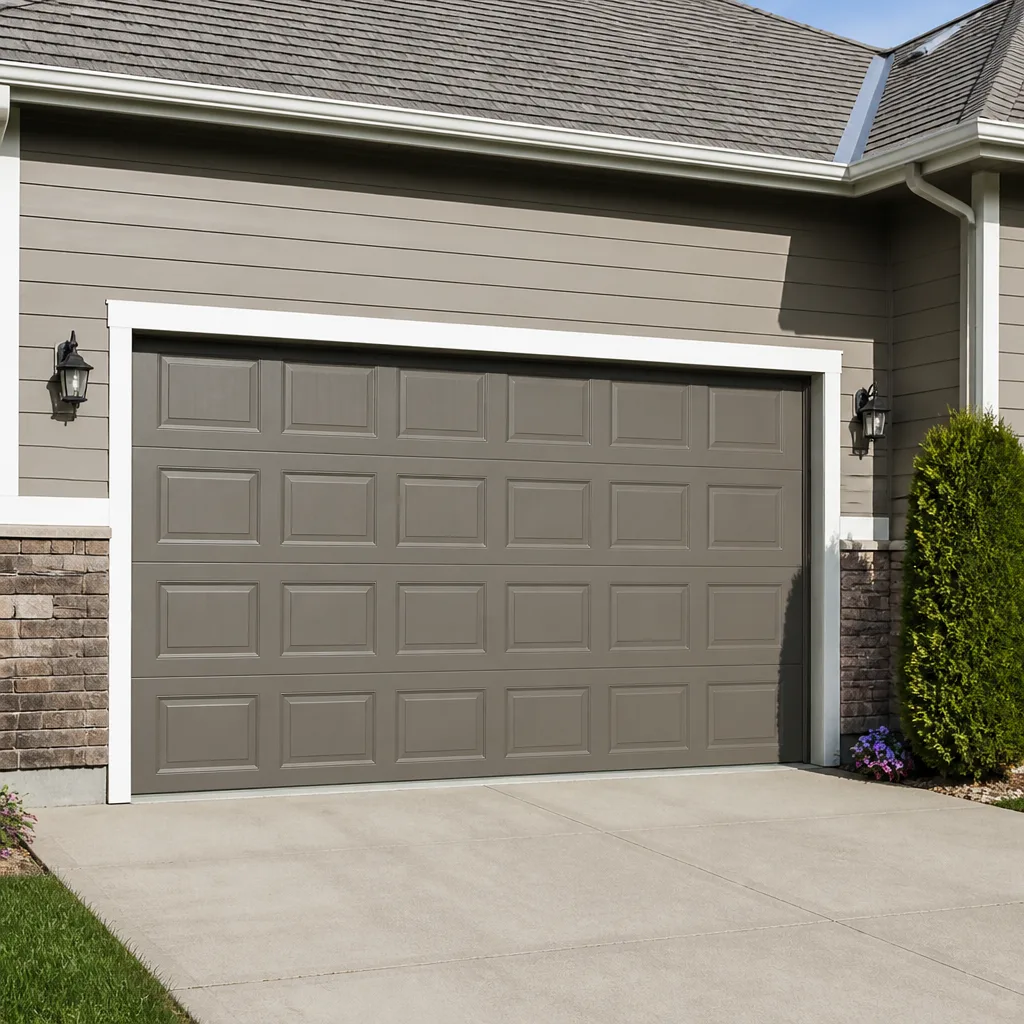 Raised-panel steel
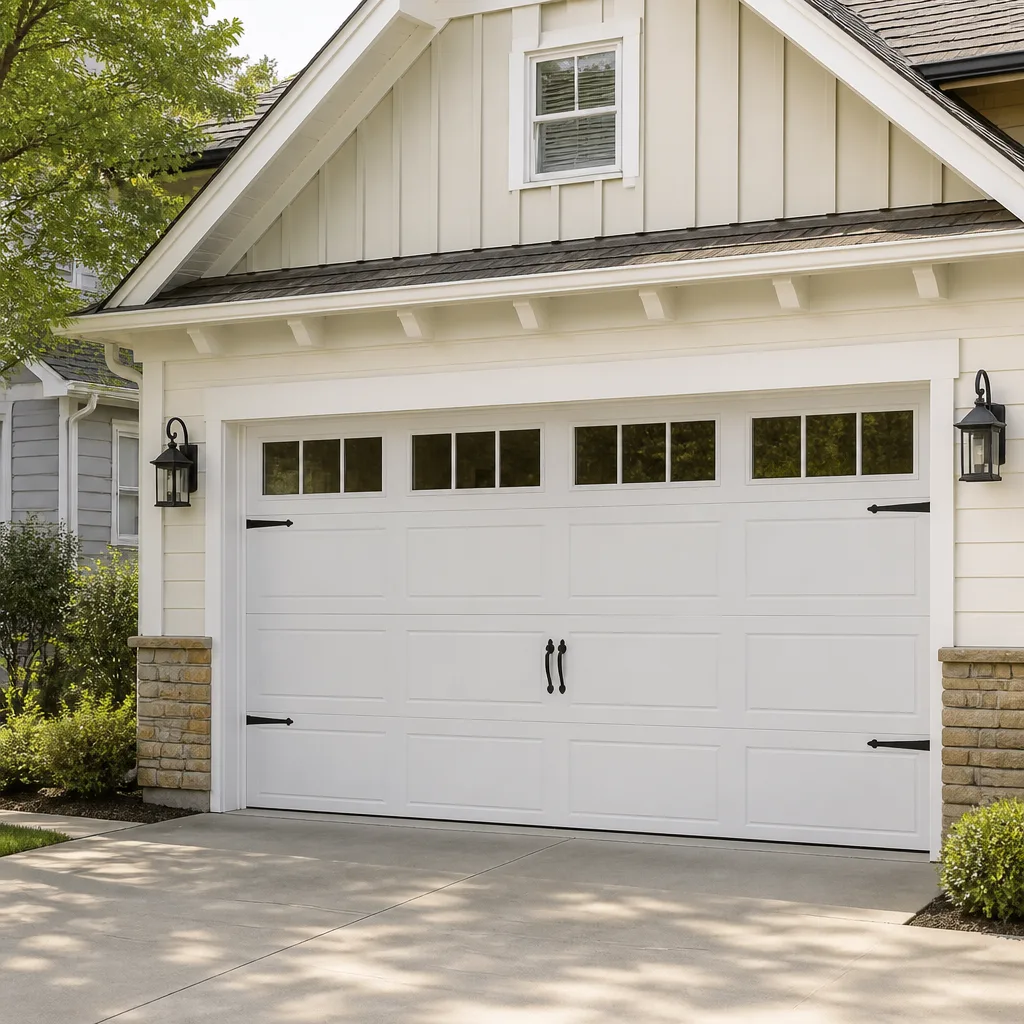
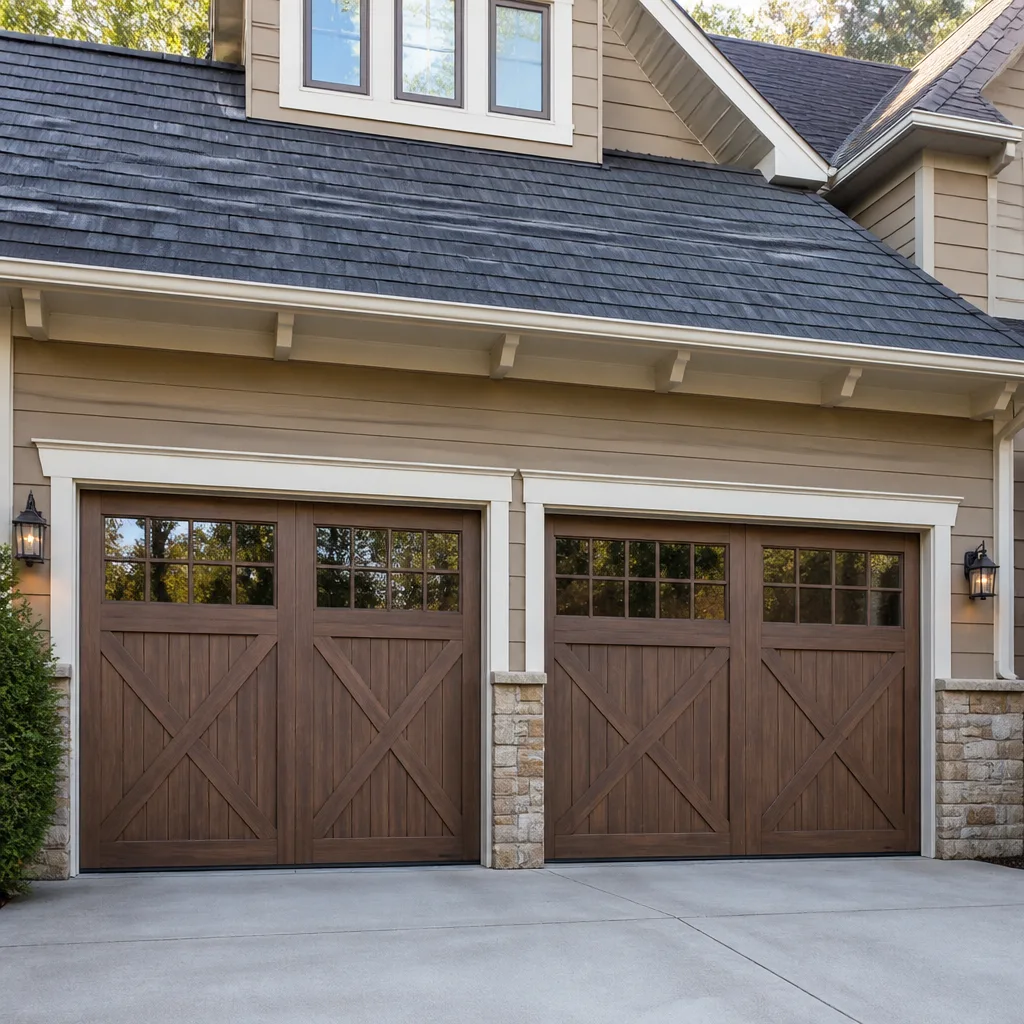 Carriage house
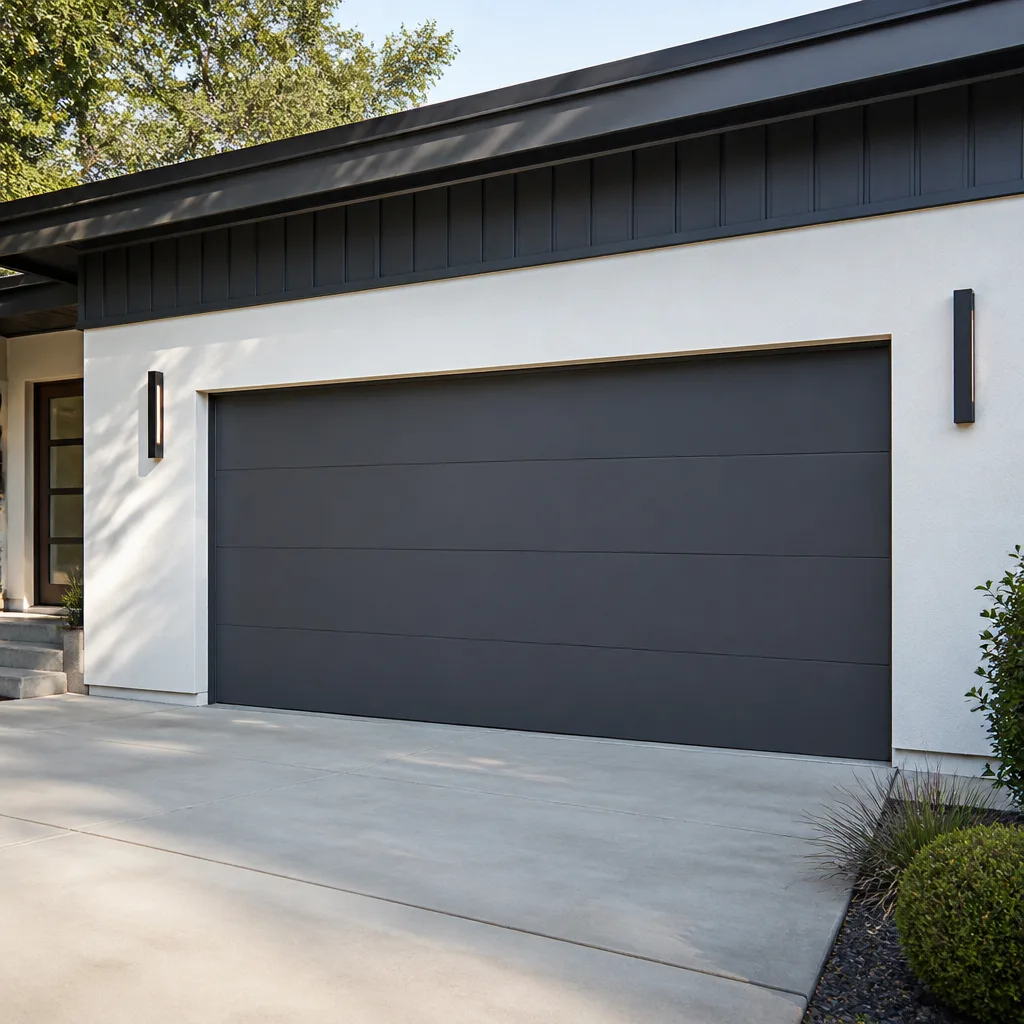 Modern flush
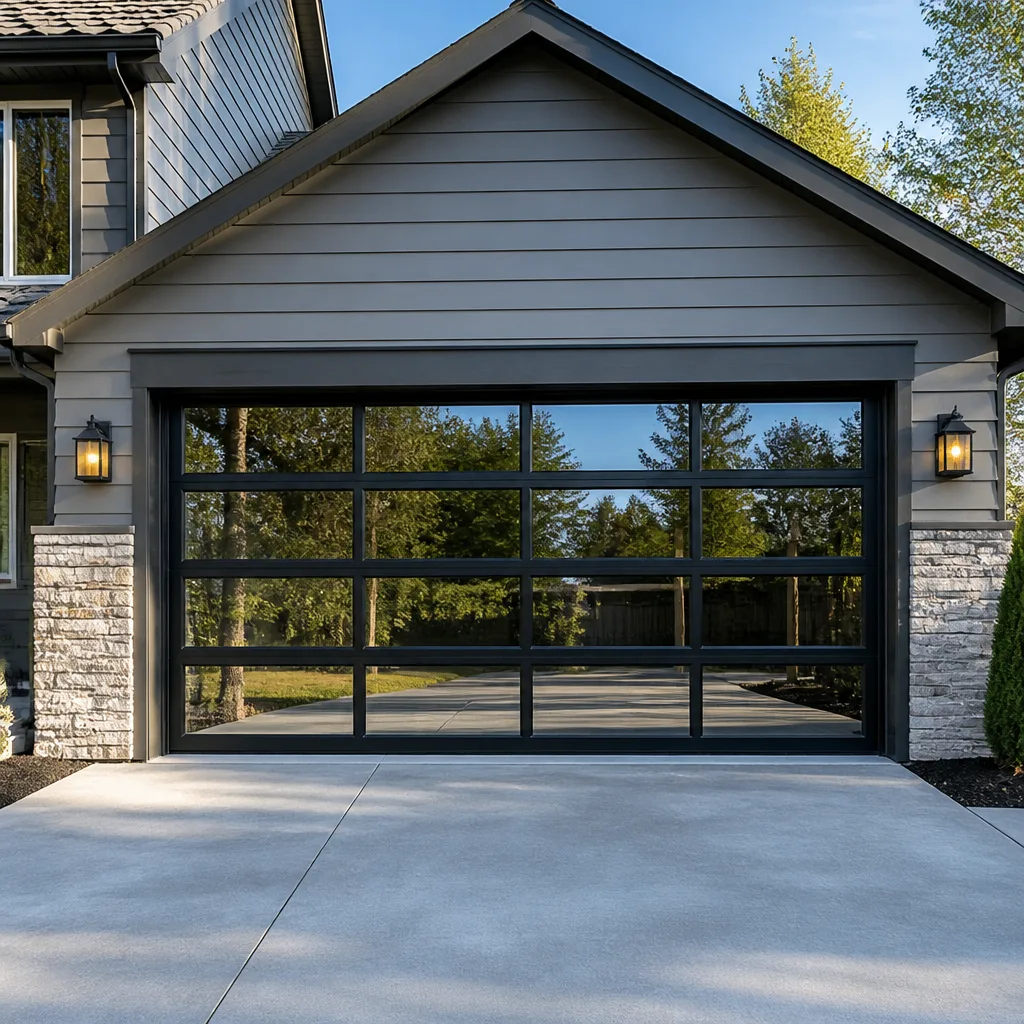 Full-view glass
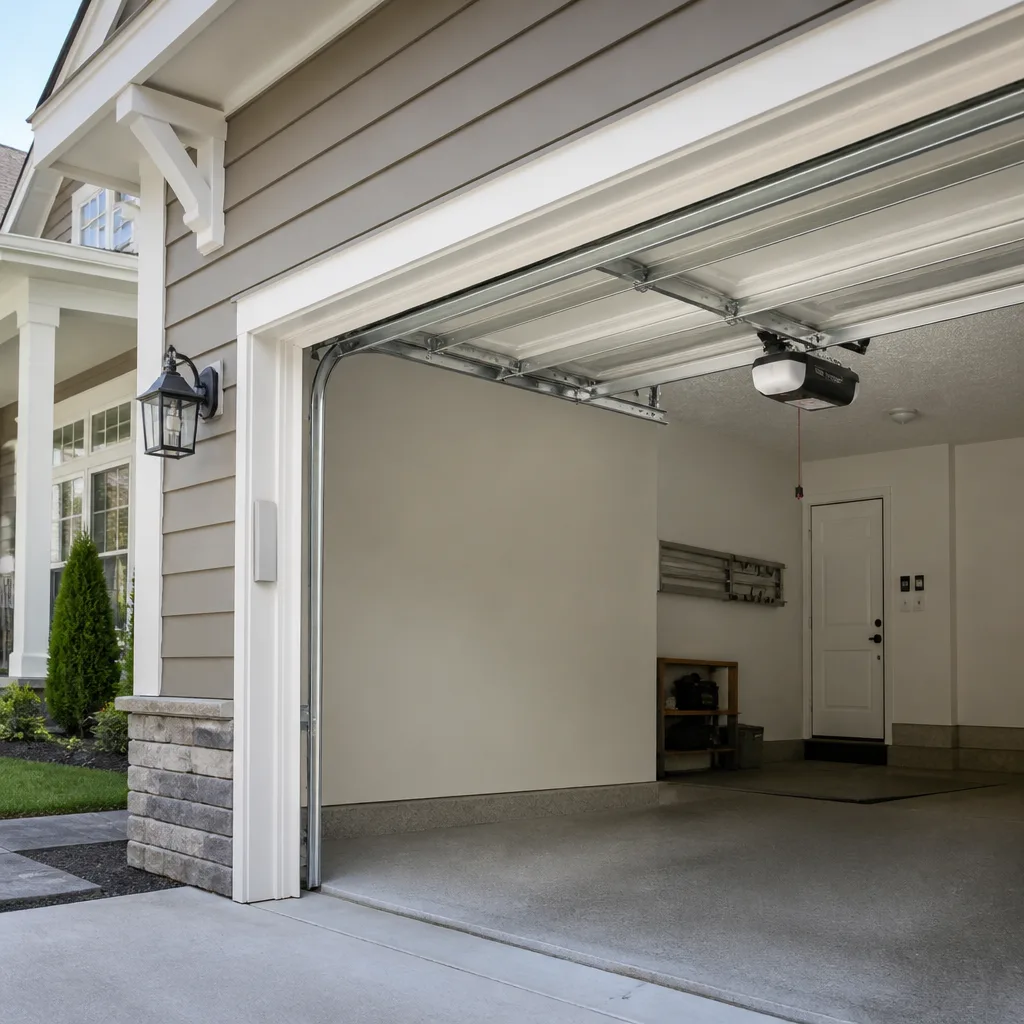 LiftMaster openers
 Chamberlain openers
Full 25-point door and opener safety check with every visit - springs, cables, rollers, tracks, and your LiftMaster or Chamberlain opener included
You get a price before we start. It does not change when the pro arrives.
Get your free estimateGarage Door Repair Maintenance Checklist for Santa Rosa Homeowners
Here’s the counterintuitive part: the biggest cause of avoidable garage door failures isn’t neglect. It’s maintenance done in the wrong order. Lubricate a fraying cable and you’ve hidden the damage under a slick coat of grease, so the next thing the homeowner hears isn’t a warning, it’s a snap. Santa Rosa’s dry summers and wet winters add their own twist, pushing rollers and bottom seals through a harder life than most checklists account for. This guide lays out a task sequence that mirrors how a technician actually inspects a system, flags the red-line thresholds that mean “stop and call,” and tells you which popular DIY tasks to skip entirely.
Styles & brands we work with
- Raised-panel steel
- Carriage house
- Modern flush
- Full-view glass
- LiftMaster openers
- Chamberlain openers
Quick Answer
A solid garage door maintenance checklist for Santa Rosa homeowners runs in this order: visual and safety inspection first, then hardware tightness and balance, then cleaning, then lubrication, then weather seal and roller condition, then opener testing. Inspect before you touch anything so you don’t mask a problem with grease. Most of the routine checks take 20-30 minutes a few times a year. Cables, springs, and anything involving the torsion assembly belong to a trained technician, not a homeowner with a can of spray lube.
Table of Contents
- Why the Order of Your Checklist Matters More Than the Tasks
- Step 1: The Visual and Safety Inspection (Before You Touch Anything)
- Step 2: Hardware Tightness and Door Balance
- Step 3: Cleaning Panels and Tracks the Right Way
- Step 4: Lubrication, and What Not to Lubricate
- Step 5: Rollers, Bottom Seals, and the Santa Rosa Climate Factor
- Step 6: Opener Testing and Brand-Specific Notes
- Red-Line Thresholds: When “Monitor” Becomes “Fix Now”
- Common Mistakes to Avoid
- When to Call a Professional
- Frequently Asked Questions
- The Bottom Line
Why the Order of Your Checklist Matters More Than the Tasks
Search “garage door maintenance checklist” and you’ll get the same seven tasks in roughly the same order everywhere: lube the springs, tighten the bolts, test the safety reverse, and so on. What those lists don’t tell you is that the sequence itself is the safety mechanism. If you lubricate first, you coat a cable that might already be fraying. The grease makes it slide smoothly for another few weeks and hides the strand separation that should have told you to stop. If you tighten bolts before you’ve checked balance, you may bind a door that was only slightly out of alignment.
So this checklist is built the way a technician walks up to a door in Santa Rosa: eyes first, hands second, grease last. Every task in a proper garage door repair inspection follows that logic because it catches problems while they’re still cheap to fix.
Here’s the sequence we use, and the one this guide walks through section by section:
- Visual and safety inspection. Look before you touch. Check cables, springs, hinges, and the door’s travel path.
- Hardware tightness and balance. Test how the door carries its own weight before adding or removing anything.
- Cleaning. Clear tracks and wipe panels so you can actually see wear.
- Lubrication. Only after the parts pass inspection do they earn a coat of lubricant.
- Rollers and seals. Assess wear on the two components that degrade fastest in Santa Rosa’s climate.
- Opener testing. Confirm the safety reverse, force settings, and brand-specific behaviors.
Run this sequence a few times a year and you’ll catch most developing failures weeks before they strand you. Skip the order and you can actually make a problem worse, which is the opposite of what maintenance is supposed to do.
Step 1: The Visual and Safety Inspection (Before You Touch Anything)
Start with the door closed and your hands in your pockets. The first pass is entirely visual. Walk the full width of the door, look up at the torsion assembly above the door, and look along both vertical tracks. You’re checking for anything that looks different from last time: cable strands separating, a spring with a visible gap, a hinge bent out of shape, a roller sitting crooked in its bracket.
Then look at the door’s travel path. Are the panels sitting flush with each other, or is one slightly off? Is there daylight showing at the bottom all the way across, or just in a corner? A single bright corner means the door isn’t sitting level on the ground, which usually points to a balance or track issue you’ll confirm in Step 2.
What to look for on the visual pass:
- Cables: fraying, kinks, or strands standing out from the bundle. Never touch a cable under tension; visual only.
- Springs: a visible gap in either the torsion spring above the door or the extension springs along the sides. Extension springs should also have safety cables running through them.
- Hinges and brackets: bends, cracks, or rust blooming at the joints.
- Rollers: chips, flat spots, or a roller stem sitting at an angle instead of straight.
- Panels: dents, cracks in a window pane, or a panel that flexes when you press gently.
- Bottom seal: cracks, missing chunks, or a seal that’s come loose from its retainer.
If you see a broken spring, a frayed cable, or anything that looks structurally wrong, stop here. Do not proceed to the lubrication steps. High-tension springs and cables store enormous energy and are genuinely dangerous to work around; a trained technician with the right winding bars is the only safe answer. The rest of this checklist only applies to doors that pass this first look.
Step 2: Hardware Tightness and Door Balance
Now the door earns some gentle handling. Disconnect the opener first by pulling the red emergency release handle, so the door is running on its springs alone. That’s the state you need for a balance test, and it’s also safer because the door can’t be pulled by the motor while you’re working near it.
Lift the door about halfway and let it go. A well-balanced door should sit there, roughly where you left it. If it drops on its own, the springs are losing tension. If it rises on its own, they’re pulling too hard. Either way, that’s a spring adjustment, and spring adjustment is a technician job.
With the door closed again, walk the hinges with a socket wrench or nut driver and check for loose bolts. Don’t over-torque. Snug is the goal. A hinge that’s loose enough to wiggle is worth tightening; a hinge that won’t take another turn is fine. The same goes for the track brackets bolted to the wall and the lag screws holding the opener’s rail to the header.
Two things to check while you’re up there:
- Track alignment: the vertical and horizontal tracks should meet at a clean curve with no kink. A visible gap or bend in the curve is a track problem, not a bolt problem.
- Hinge wear: hinges with nylon bushings wear more quietly than metal-on-metal hinges, and they can get sloppy over time. If the door rattles loudly when it moves, worn hinges are often the reason.
This is the step most homeowners skip, and it’s the one that prevents the slow rattle-and-shake that eventually cracks a panel or wears out a roller. Ten minutes with a socket wrench does more than any spray product.
Step 3: Cleaning Panels and Tracks the Right Way
Cleaning comes third because you want to see what you’re working with before you start greasing it. Wipe down the outside of the door with a mild soap and water mix. Avoid abrasive pads on painted steel doors; on textured steel or wood-grain finishes like those you’ll find on many Clopay and Amarr doors, scratches from an abrasive pad are permanent and expensive to hide.
The tracks are where the real work is. Wipe the inside of each vertical and horizontal track with a damp cloth, corner to corner. You’re removing dust, tiny bits of debris, and any old hardened grease. Do not use a solvent on the tracks; a mild degreaser or plain soapy water is enough. Leave the tracks dry before the lubrication step.
A couple of cleaning notes specific to Santa Rosa:
- Summer dust: Santa Rosa’s dry months push a lot of dust into the track channels. A quick wipe in early fall catches this before the wet season, when dust turns into a gritty paste.
- Winter grit: after heavy rain, debris from nearby trees and gutters can find its way into the horizontal tracks. Give them a wipe after the first big storms of the season.
- Coastal-fog dust on inland doors: the fog that rolls into parts of Sonoma County in summer carries fine particulate that settles on the door face. A rinse keeps it from baking into the finish.
While you’re cleaning, look again at the rollers and seals you glanced at in Step 1. A clean track makes it much easier to spot a roller that’s starting to come apart or a seal that’s peeling.
Step 4: Lubrication, and What Not to Lubricate
Now, and only now, the lubricant comes out. This is the step where most checklists go wrong, because they don’t draw a hard line around what gets grease and what absolutely does not.
What gets a light coat of a purpose-made garage door lubricant or white lithium grease:
- Hinges: a small dab at each pivot point, worked in by opening and closing the door.
- Roller bearings: the metal bearing in the center of the roller, not the roller itself. Nylon rollers mostly don’t need lubrication at all.
- Track pivot points: where the hinge connects to the roller stem, not the inside of the track.
- The opener’s chain or screw drive: follow the manufacturer’s direction for your specific unit. Belt drives generally don’t need lubrication.
What does not get lubricated, ever:
- The tracks. This is the single most common mistake. Grease on the track attracts dirt and grit and turns into a grinding paste that wears out rollers fast.
- The cables. A lubricated cable slides smoothly and hides fraying. Leave them dry and inspect them visually instead.
- The springs. Some manufacturers do specify light oil on torsion springs, but if you’re not sure, skip it. The springs are the highest-risk component on the door and should be handled by a technician during a service visit.
- The inside of a wood door’s panel joints. Lubricant traps moisture and encourages rot in the wet months.
Apply lubricant sparingly. A little goes a long way, and excess product drip just makes a mess on the floor and door panels. Wipe up any excess immediately so it doesn’t collect dust.
Step 5: Rollers, Bottom Seals, and the Santa Rosa Climate Factor
Rollers and bottom seals are the two fast-wearing components on any door, and Santa Rosa’s dry-summer, wet-winter cycle accelerates their wear. The dry months dry out nylon roller housings and cause rubber seals to crack and lose flexibility. The wet months push grit into the track and swell wood components if water finds its way in. Alternating moisture and dry heat ages rubber faster than steady conditions do, and that’s essentially the pattern much of Santa Rosa lives with.
Rollers are the moving part, so they’re the most common point of failure. Steel rollers wear faster than nylon and are louder. Nylon rollers last longer and run quieter, but can chip at the edges if the track is out of alignment. Look for flat spots, cracks, chips, or a roller that wobbles on its stem. Any of those means replacement, and it’s usually worth replacing all rollers at once rather than one at a time.
The bottom seal is the strip of rubber or vinyl along the base of the door. It’s what keeps rain, wind, and insects out of the garage, and it’s what gives the door its cushion when it closes. In Santa Rosa’s climate, that seal sees summer heat that dries it out and winter rain that works into cracks. Look for:
- Cracking or flaking along the seal’s length.
- Missing chunks at the corners where the seal meets the frame.
- A seal that’s separated from its metal retainer and hangs loose.
- Daylight or water intrusion at the base of the closed door.
Replacing a bottom seal is one of the more homeowner-friendly tasks on this checklist on most door types, but it varies by retainer style. A Wayne Dalton door with a specific seal profile, for example, may take a proprietary replacement, and that’s a good moment to call a specialist rather than guess at the part.
If the rollers or seal are shot, replacing them now costs less than the repair that follows a failed component. Call (844) 834-1851 for an exact quote on either – estimates are free.
Step 6: Opener Testing and Brand-Specific Notes
The opener is the last piece because it’s the one that depends on a door that’s otherwise running well. Test the safety reverse feature first: place a piece of 2×4 lumber flat on the floor in the door’s path, close the door, and confirm it reverses on contact with the wood. If it doesn’t, the opener’s safety sensors or force settings need attention, and that’s a garage door opener repair issue, not a door issue.
Then test the photo-eye sensors at the bottom of the tracks: break the beam with your leg and confirm the door won’t close. Wipe the sensor lenses with a soft cloth while you’re there; dust on the lens is the single most common cause of “my door won’t close” calls we get.
Different opener brands want different attention:
- LiftMaster and Chamberlain: these use MyQ connectivity on most current models. Check that the Wi-Fi indicator light is steady, not blinking, and test the app if you rely on it. The safety sensors are also more sensitive to misalignment on these units than on older analog openers.
- Genie: chain and belt tension settings differ by model, and Genie’s force adjustment is often done with a screwdriver on the back of the motor housing. If the door stops and reverses midway, check the force setting before assuming a door problem.
- Craftsman: many older Craftsman units are still in daily use and behave well but are more sensitive to power surges. If your unit resets after a storm, that’s a common pattern worth knowing about.
Whichever brand you own, don’t skip the manual release test: pull the red handle, move the door by hand, and re-engage it. That confirms the door can be operated manually in a power outage. For a deeper walkthrough of any of these systems, see Signal Garage Door Repair.
Red-Line Thresholds: When “Monitor” Becomes “Fix Now”
A checklist is only useful if you know when to stop monitoring and start acting. These are the thresholds we treat as red lines on any door in Santa Rosa:
- Cables: any visible fraying, broken strand, or kink. Not “watch it” – fix it. A frayed cable is on its way to failing, and a failed cable drops the door.
- Springs: any visible gap, any broken spring, any door that won’t stay at the halfway point when released. Do not operate the door and do not attempt a DIY repair.
- Rollers: a flat spot you can feel with a fingernail, or any chip in a nylon roller. Any wobble in the roller stem. Replace them in sets, not one at a time.
- Bottom seal: cracking you can see across more than a few inches, or daylight showing under a closed door across most of the width. Water intrusion is the reason to fix this before the wet season, not after.
- Tracks: any visible bend or kink in the curve, or a door that rubs on one side during travel. Track damage will wear out rollers and panel edges fast.
- Safety reverse: any failure to reverse on contact with a test object. This is a hard red line and a safety issue that a technician needs to see.
- Balance: a door that drops or rises by more than a few inches when released at the halfway point.
Below those thresholds, monitor. Above them, stop and call. A trained technician can diagnose a Santa Rosa door’s specific issue on a single visit and tell you what needs replacing now versus what can wait.
Common Mistakes to Avoid
- Lubricating before inspecting. Grease on a fraying cable hides the problem. Always pass eyes over the system first, then lubricate.
- Greasing the tracks. This single mistake causes most of the “my door is getting louder” complaints we hear. Tracks stay dry; only the roller bearings and hinge pivots get lubricant.
- Tightening a hinge that shouldn’t be tighter. Over-torqued bolts can crack the hinge plate or distort the panel. Snug is enough.
- Forcing a door that’s visibly off-balance. A door that drops on its own is telling you the springs are losing tension. Running the opener on it accelerates the wear on every other component.
- Replacing one roller at a time. Rollers wear together. A mixed set makes the door run unevenly and puts more stress on the new roller than the old ones it’s tracking with.
- Ignoring the bottom seal until the wet season. In Santa Rosa, the wet months reveal every failed seal in the garage. Replace it in the summer, not after the first storm.
- Assuming a brand-specific part will swap with a generic one. Some Wayne Dalton and Clopay profiles use proprietary seals and rollers. Check before ordering, or let a specialist match the part to the door.
When to Call a Professional
Call a technician for any broken spring, any frayed or kinked cable, any visible track damage, or any failure of the safety reverse feature. These are the components where the risk of DIY injury outweighs any potential saving, and where an incorrect repair can put the whole system at risk. Call if your door won’t stay balanced when released at the halfway point, if it drops or rises on its own, or if the opener is running but the door isn’t moving.
Our technicians have up to 15 years of experience diagnosing the specific failure patterns of LiftMaster, Chamberlain, Genie, Clopay, Amarr, Wayne Dalton, Craftsman, and Raynor systems, so we’re not guessing at your door. We work on the door and the opener as one system rather than treating either as a separate job. Signal Garage Door Repair offers free estimates in Santa Rosa – call (844) 834-1851. We answer 24/7. Fast dispatch from 7am to 7pm, Sunday through Friday. The price you agree before work starts is the price you pay.
Frequently Asked Questions
Twice a year is a practical rhythm: once in early fall before the wet season, once in spring after it. Santa Rosa’s dry-summer, wet-winter cycle puts extra wear on rollers and bottom seals, and running the checklist at those two points catches that wear before it turns into a repair. Call (844) 834-1851 for an exact quote on any repair the checklist turns up – estimates are free.
You can lubricate the hinges and roller bearings yourself with a purpose-made garage door lubricant or white lithium grease. Do not lubricate the tracks, the cables, or the torsion springs unless the door’s manufacturer specifically calls for it. The springs are under high tension and belong to a trained technician. Call (844) 834-1851 for a quote if you’d rather have the whole system serviced.
It’s usually the opener’s force setting or an obstruction the safety sensors are detecting, not the door itself. On LiftMaster and Chamberlain units, check the sensor alignment and wipe the photo-eye lenses first. If the door still reverses, a technician needs to test the force settings and the door’s balance together. Call (844) 834-1851 for an exact quote – estimates are free.
Cable replacement is priced per job by a written estimate, not a flat rate, because the cost depends on the door’s size and configuration. We quote and agree the price before any work starts, so you’ll know the total before we begin. Call (844) 834-1851 for a free estimate.
No. Genie openers have force settings adjusted with a screwdriver on the motor housing, while LiftMaster and Chamberlain units rely more on their MyQ connectivity and sensor alignment. Wood-grain textures on Clopay and Amarr doors also want gentler cleaning products than plain steel finishes. We work across all eight brands so we can tell you what your specific system actually needs. Call (844) 834-1851 for a free estimate.
Greasing the tracks and lubricating before inspecting. Both mask underlying problems and make them worse. Pass eyes over cables and springs first, keep the tracks dry, and only lubricate the parts that pass inspection. Call (844) 834-1851 if you’d like a technician to walk through the sequence with you – estimates are free.
The Bottom Line
A useful maintenance checklist for a Santa Rosa garage door is about sequence, not just tasks. Inspect before you touch, tighten before you lubricate, clean before you assess wear, and test the opener last. The two components that wear fastest here are rollers and bottom seals, because the dry-summer, wet-winter cycle ages both faster than steady conditions would. Any frayed cable, worn spring, bent track, or failing safety reverse is a red line: stop and call. Everything else you can monitor and schedule.
Signal Garage Door Repair is a specialist trade working across LiftMaster, Chamberlain, Genie, Clopay, Amarr, Wayne Dalton, Craftsman, and Raynor systems from opener to panel. Call (844) 834-1851 for a free estimate. We answer 24/7. Fast dispatch from 7am to 7pm, Sunday through Friday.
Written by the team at Signal Garage Door Repair.
See the difference
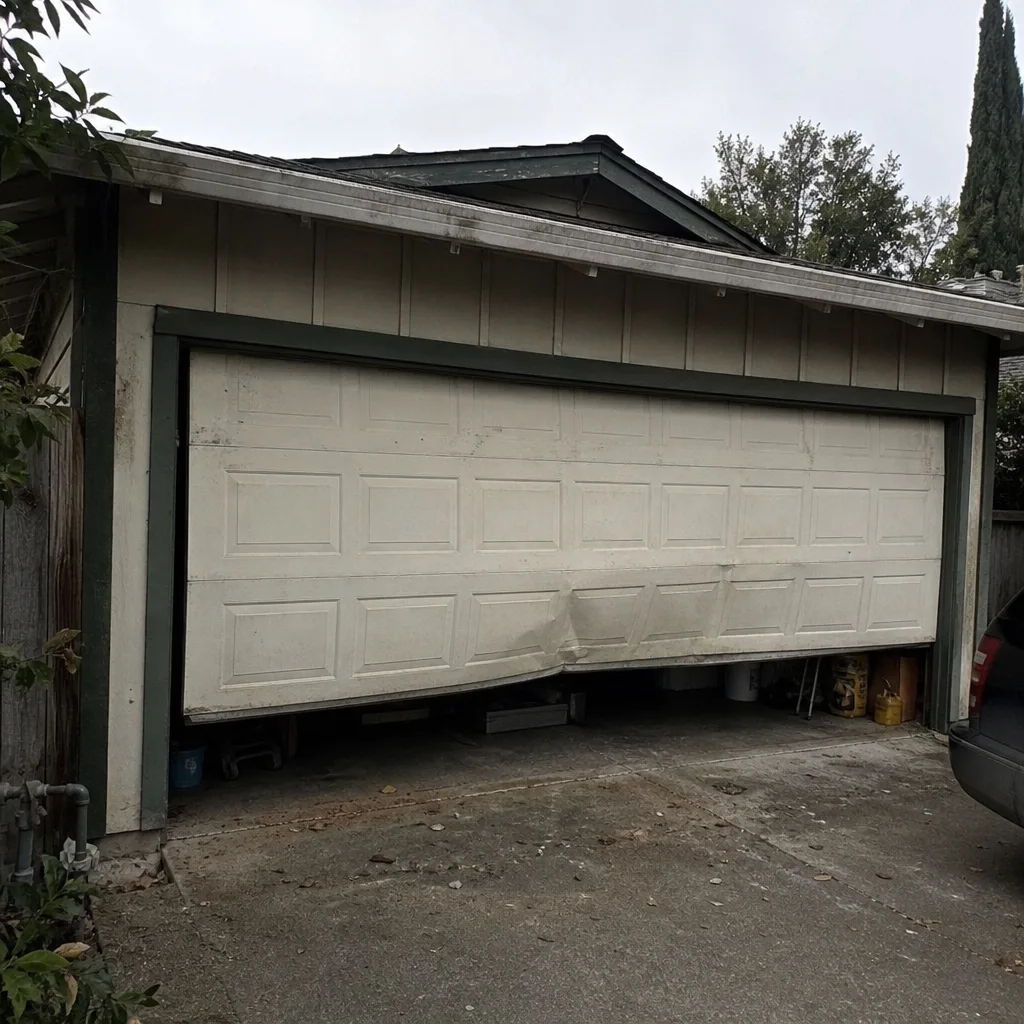 Before
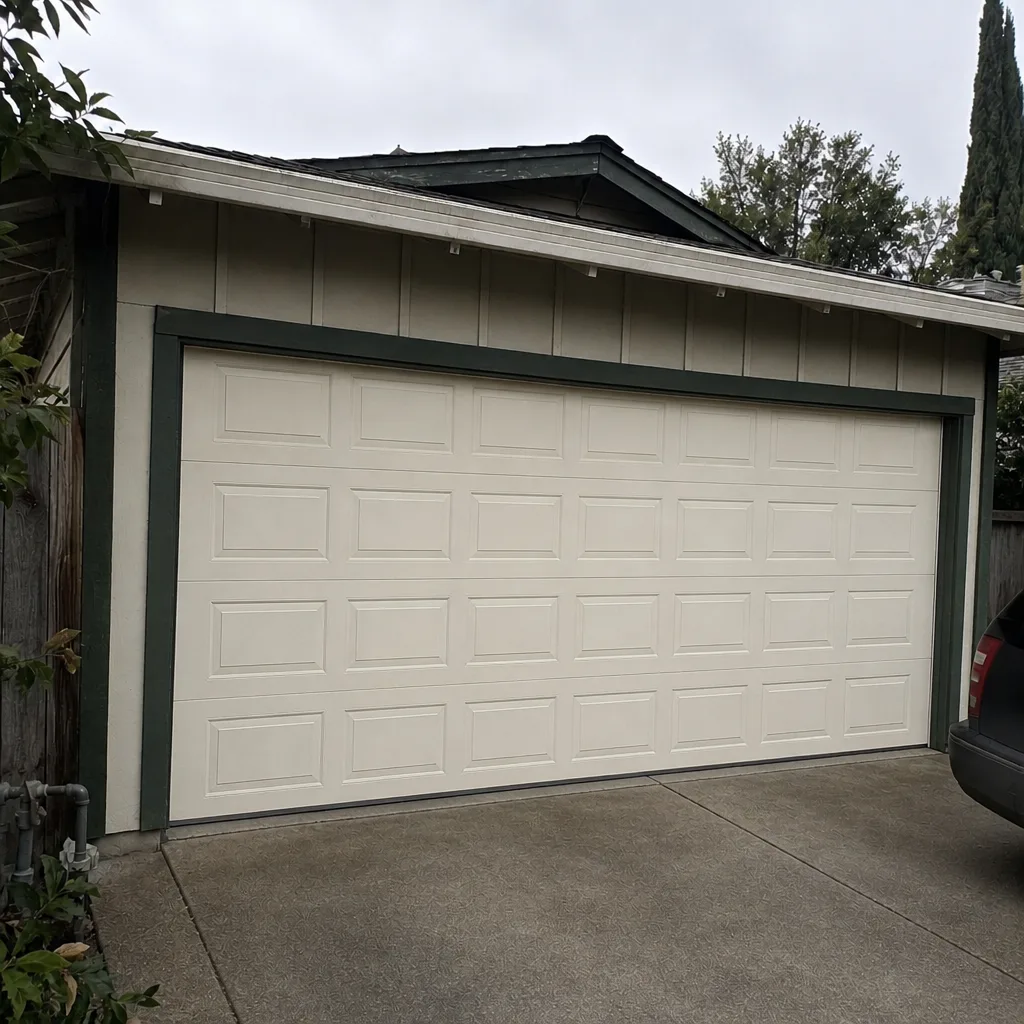 After
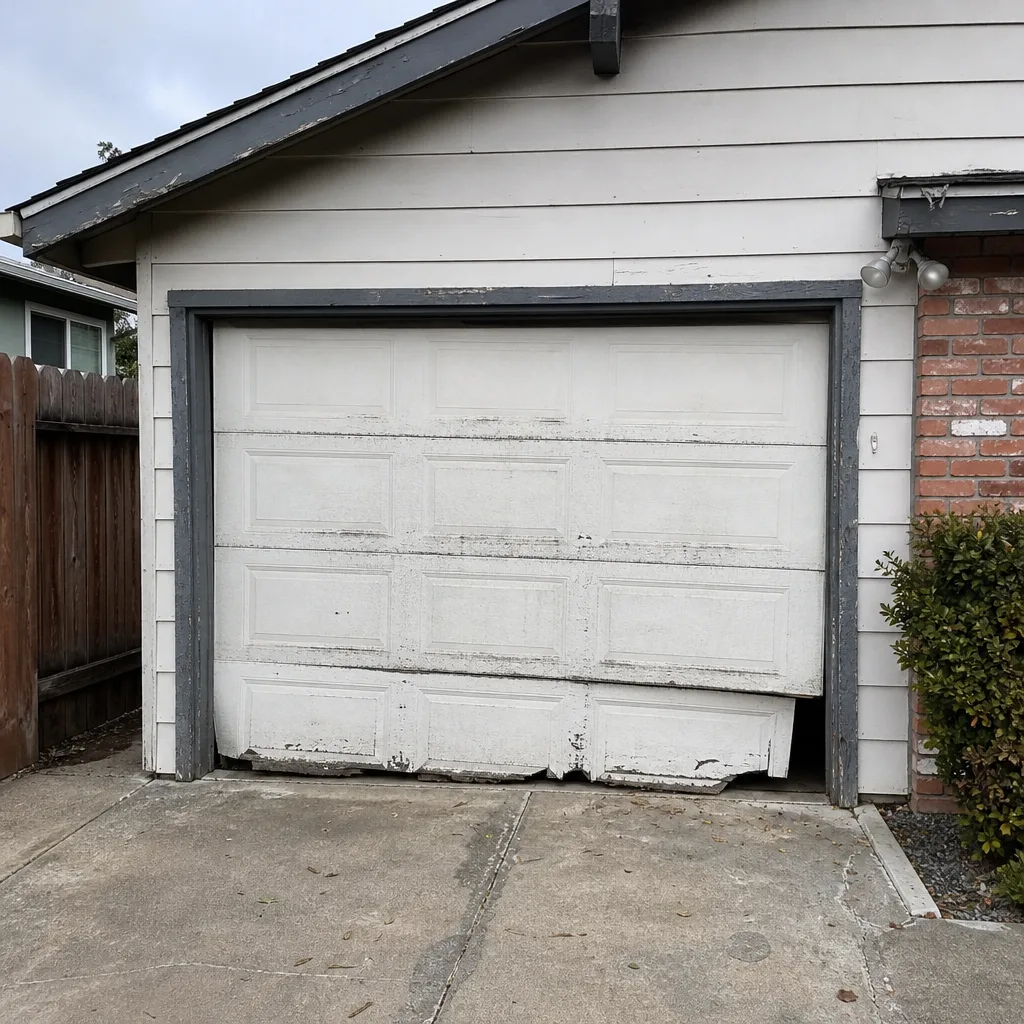 Before
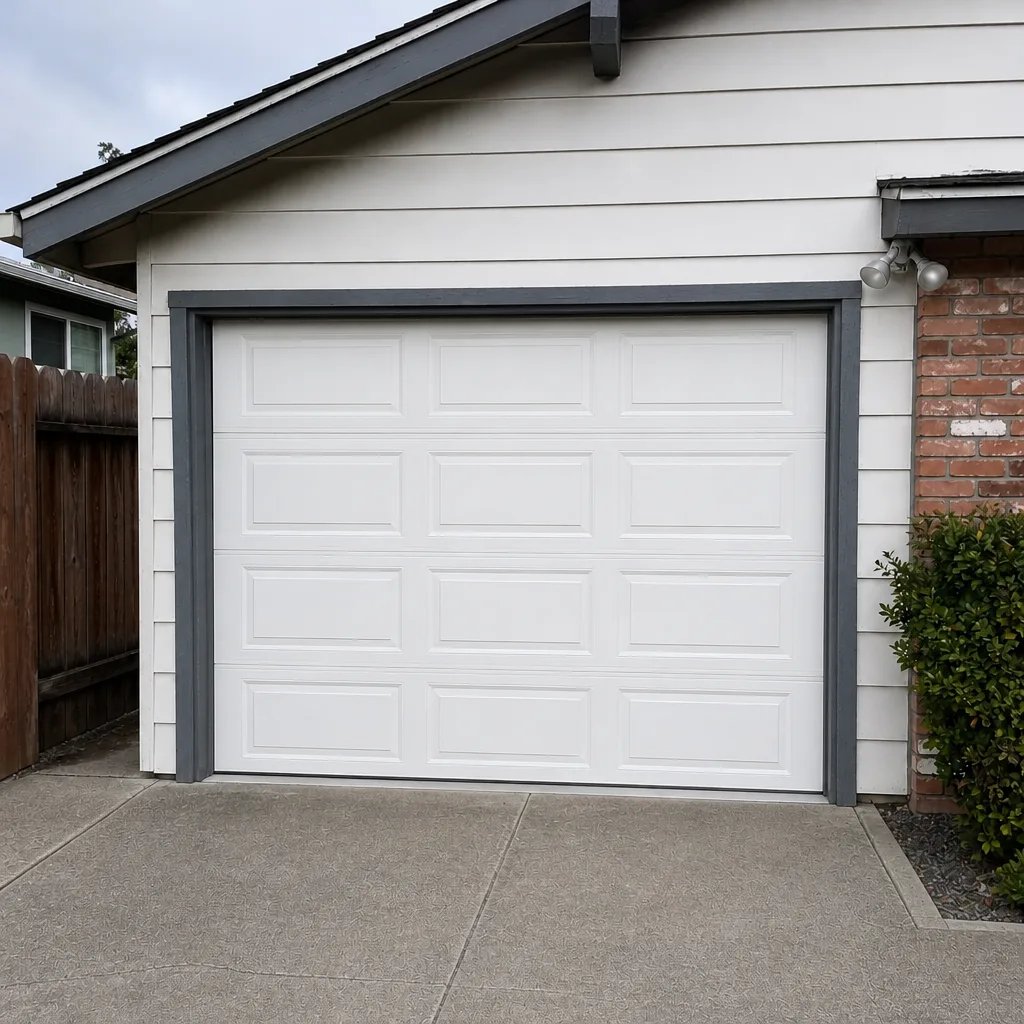 After
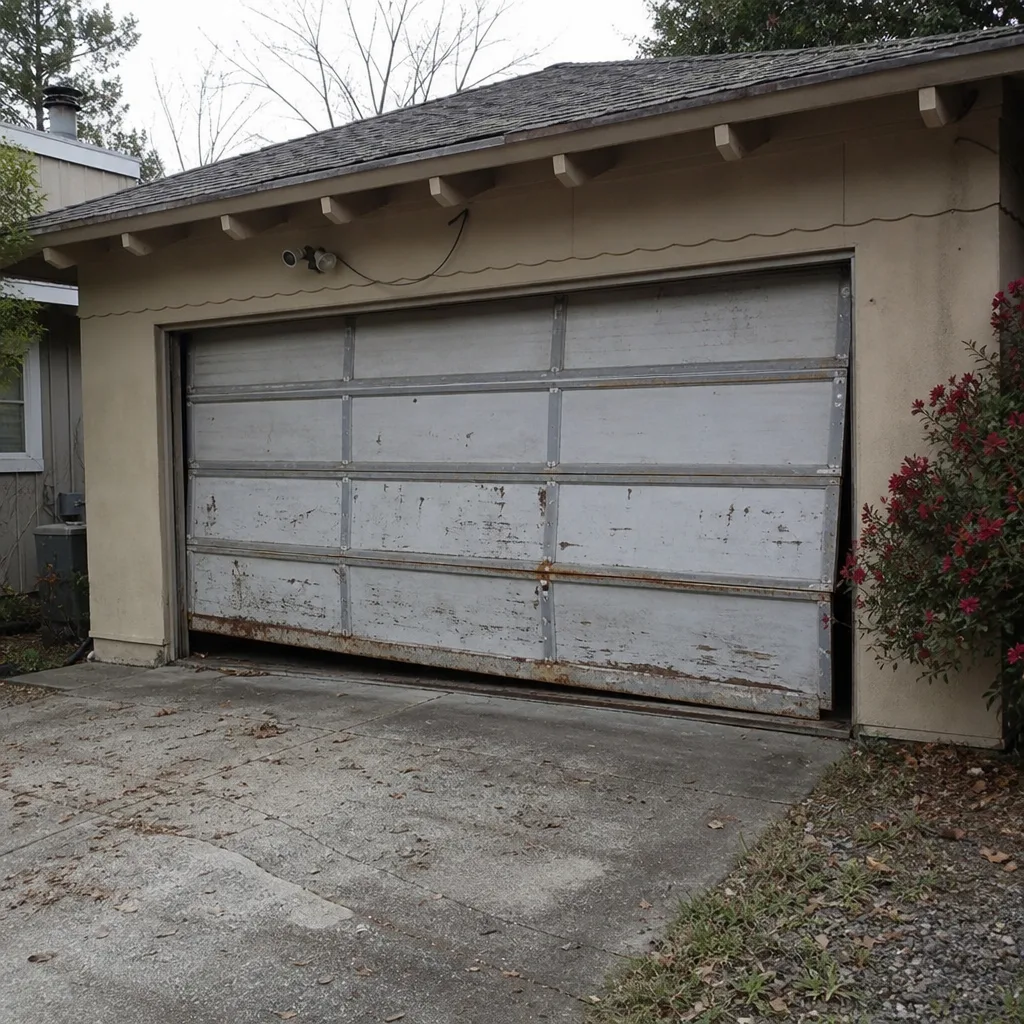 Before
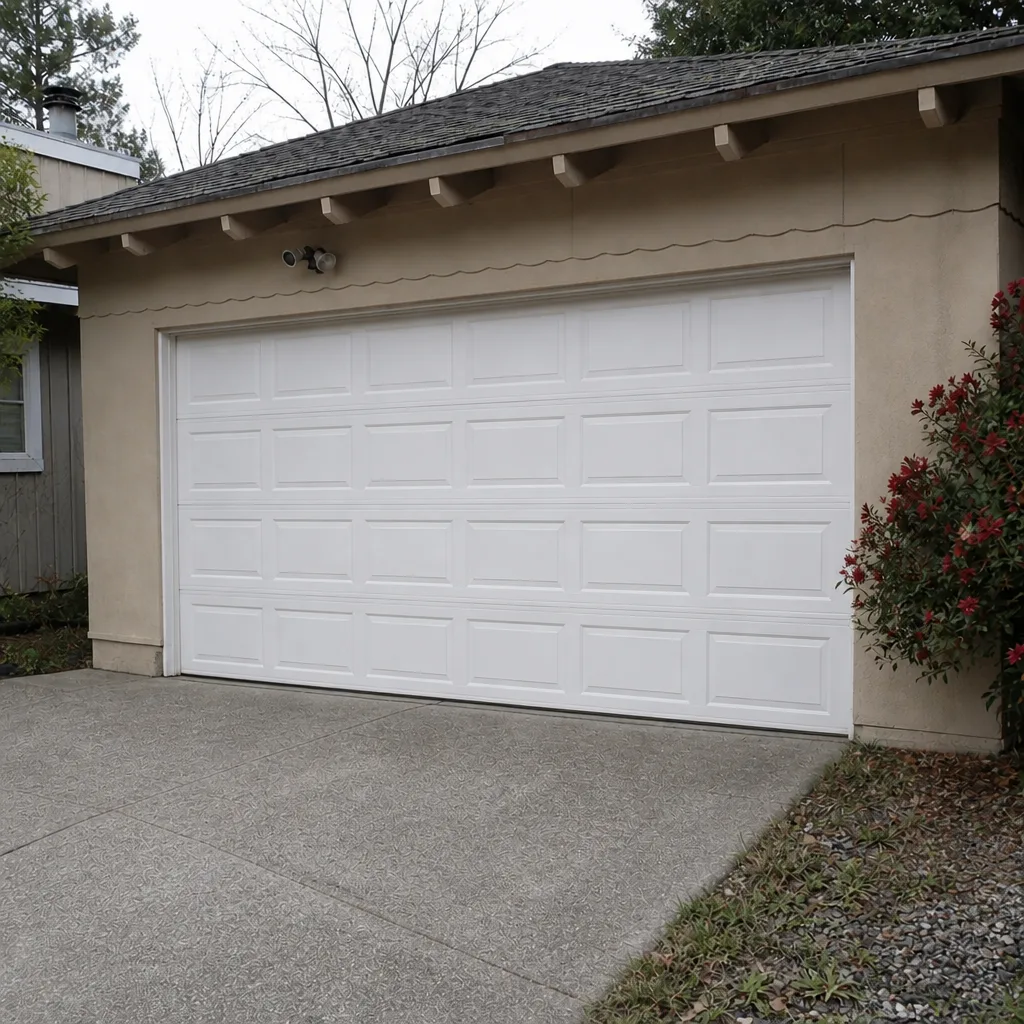 After